
ESP32-CAM Flashing and First Camera Stream: From Unboxing to WiFi Video
The classic ESP32-CAM is the cheapest way into WiFi camera projects, and the first flash is where most builds stall. This guide takes the board from the box to a live video stream in a browser: Arduino setup, board selection, the CameraWebServer example, the upload, and the fixes for the errors that show up most often. Follow it in order and you will have video on your network in one sitting.
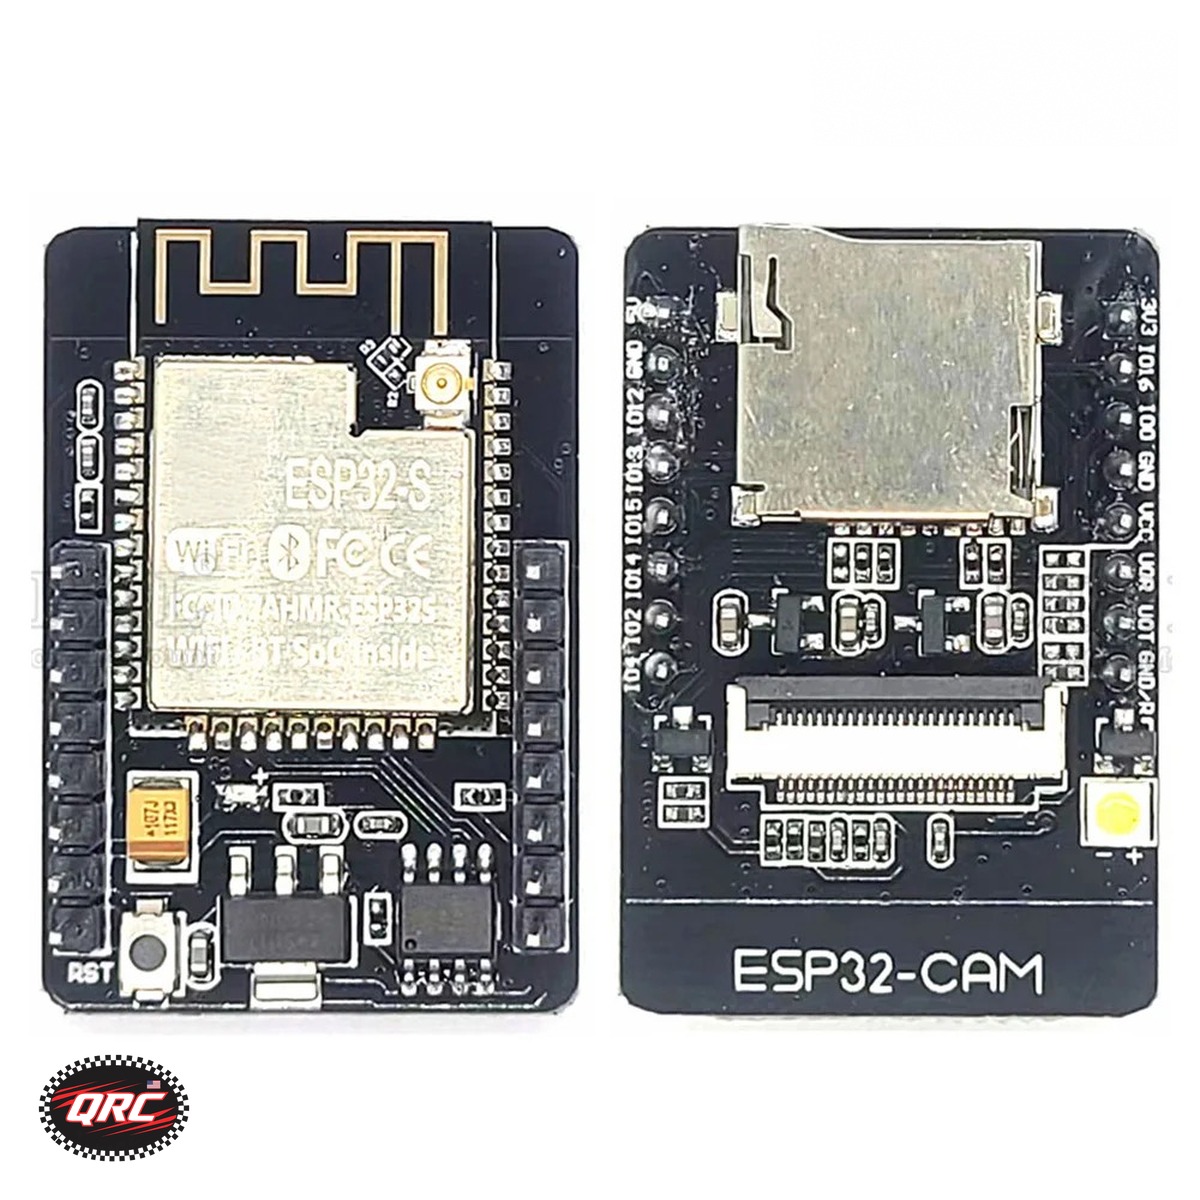
The board in this guide is the ESP32-CAM Development Board with OV2640 Camera Module, 4MB PSRAM ($25.99). It ships with the OV2640 camera module fitted, 4MB PSRAM, 2.4GHz WiFi plus Bluetooth, a micro USB interface, and a TF card slot for local image storage. The board is about 39.8 x 27 mm.
What you need before you start
- The ESP32-CAM board with the OV2640 camera fitted. Check the camera is seated in its socket before you power anything.
- A computer with Arduino IDE installed.
- A micro USB cable for power and upload.
- Your WiFi network name and password, because the example sketch needs them to join your network.
- A stable 5V power supply. A weak USB port or a long thin cable causes brownouts, and brownouts cause camera failures that look like bad code.
Step 1: Install the ESP32 board package
Open Arduino IDE, go to File, Preferences, and add the ESP32 boards URL to the Additional Boards Manager URLs field. Then open Tools, Board, Boards Manager, search for ESP32, and install the package by Espressif Systems. Once it is installed, the ESP32 boards appear in the Tools, Board menu.
Step 2: Select the AI Thinker ESP32-CAM board
Go to Tools, Board, ESP32 Arduino, and select AI Thinker ESP32-CAM. This is the board profile that matches the classic ESP32-CAM. Set the upload speed to 115200 and pick the right serial port for your USB connection. If no port shows up, try a different USB cable first. Many micro USB cables are charge-only and carry no data, and a charge-only cable is the most common reason the port never appears.
Step 3: Open the CameraWebServer example
Go to File, Examples, ESP32, Camera, CameraWebServer. This is the standard example that streams video to a browser. Open the sketch and find the WiFi section near the top. Enter your network name in the ssid field and your password in the password field. Leave the camera model set to CAMERA_MODEL_AI_THINKER, which is the default for this board.
Step 4: Flash the board
Press Upload. The IDE compiles the sketch and writes it to the board. If the upload fails with a connection error, the board did not enter download mode. The fix on the classic ESP32-CAM is to hold GPIO0 to ground while the board resets, then release it after the upload starts. Some boards enter download mode on their own, some need the GPIO0 hold, so try the upload first and use the GPIO0 hold only if the first attempt fails.
Do not unplug the board during the upload. Wait for the IDE to report the upload as done, then move on to the serial monitor.
Step 5: Open the stream
Open the serial monitor and set the baud rate to 115200. Press the reset button on the board. The monitor will print the WiFi connection steps and then a local IP address, something like 192.168.1.42. Copy that address into a browser on the same network. The CameraWebServer page opens with a Start Stream button. Press it and the live video feed starts.
If the page loads but the stream never starts, check the camera is seated in its socket and press reset once more. If the serial monitor shows a camera init failure, power the board off, reseat the camera module, and power it back on with a better 5V supply. A brownout during camera start is the usual cause.
Common errors and fixes
| Symptom | Fix |
|---|---|
| No serial port in Arduino IDE | Swap the USB cable, a charge-only cable carries no data. Try another USB port. |
| Upload fails, connection timed out | Hold GPIO0 to ground during reset, then release it after the upload starts. |
| Camera init failed in serial monitor | Reseat the camera module and use a stable 5V supply. Brownouts cause init failures. |
| WiFi never connects | Check the network name and password in the sketch. The board uses 2.4GHz WiFi only. |
| Stream page loads but no video | Press reset on the board, then reload the page. Check the camera is seated. |
| Board resets in a loop | Use a better power supply. A looping reset is almost always low voltage under camera load. |
What to try after the first stream
Once the stream works, the board is ready for a real project. The TF card slot takes a microSD card for local stills, and the board supports STA, AP, and STA plus AP WiFi modes, plus over-the-air firmware updates, so you can reflash it over WiFi once the first sketch is on. From here, the usual next steps are a fixed mount, a PIR sensor for motion-triggered captures, or a move to the ESP32-S3-CAM board when you want more memory and a 5MP camera option. See the ESP32-CAM getting started guide and the ESP32-S3-CAM vs ESP32-CAM comparison for the next step.
Parts that fit this guide
Prices below are the live store prices verified November 19, 2026. In-stock parts ship from New York in 1-2 business days.
ESP32-CAM Development Board with OV2640 Camera Module, 4MB PSRAM ($25.99)
ESP32-CAM development board with the OV2640 camera module fitted, 4MB PSRAM, 2.4GHz WiFi plus Bluetooth, micro USB, and a TF card slot. The board in this guide.
Shop the full range in the ESP32 and ESP8266 category at Quality RC Parts.
Frequently asked questions
Do I need a separate programmer board?
No. This board has a micro USB interface for power and upload. If an upload fails, use the GPIO0-to-ground hold during reset to force download mode.
Which board profile do I select?
AI Thinker ESP32-CAM. That profile matches the classic ESP32-CAM with the fitted OV2640.
Why does the camera fail but the sketch runs?
Usually power or seating. The camera draws a burst of current at start, so a weak supply browns the board out. Reseat the camera and use a stable 5V supply.
Can I view the stream from my phone?
Yes. Open the board IP address in any browser on the same WiFi network, phone included, and press Start Stream.
Last updated: November 19, 2026.