
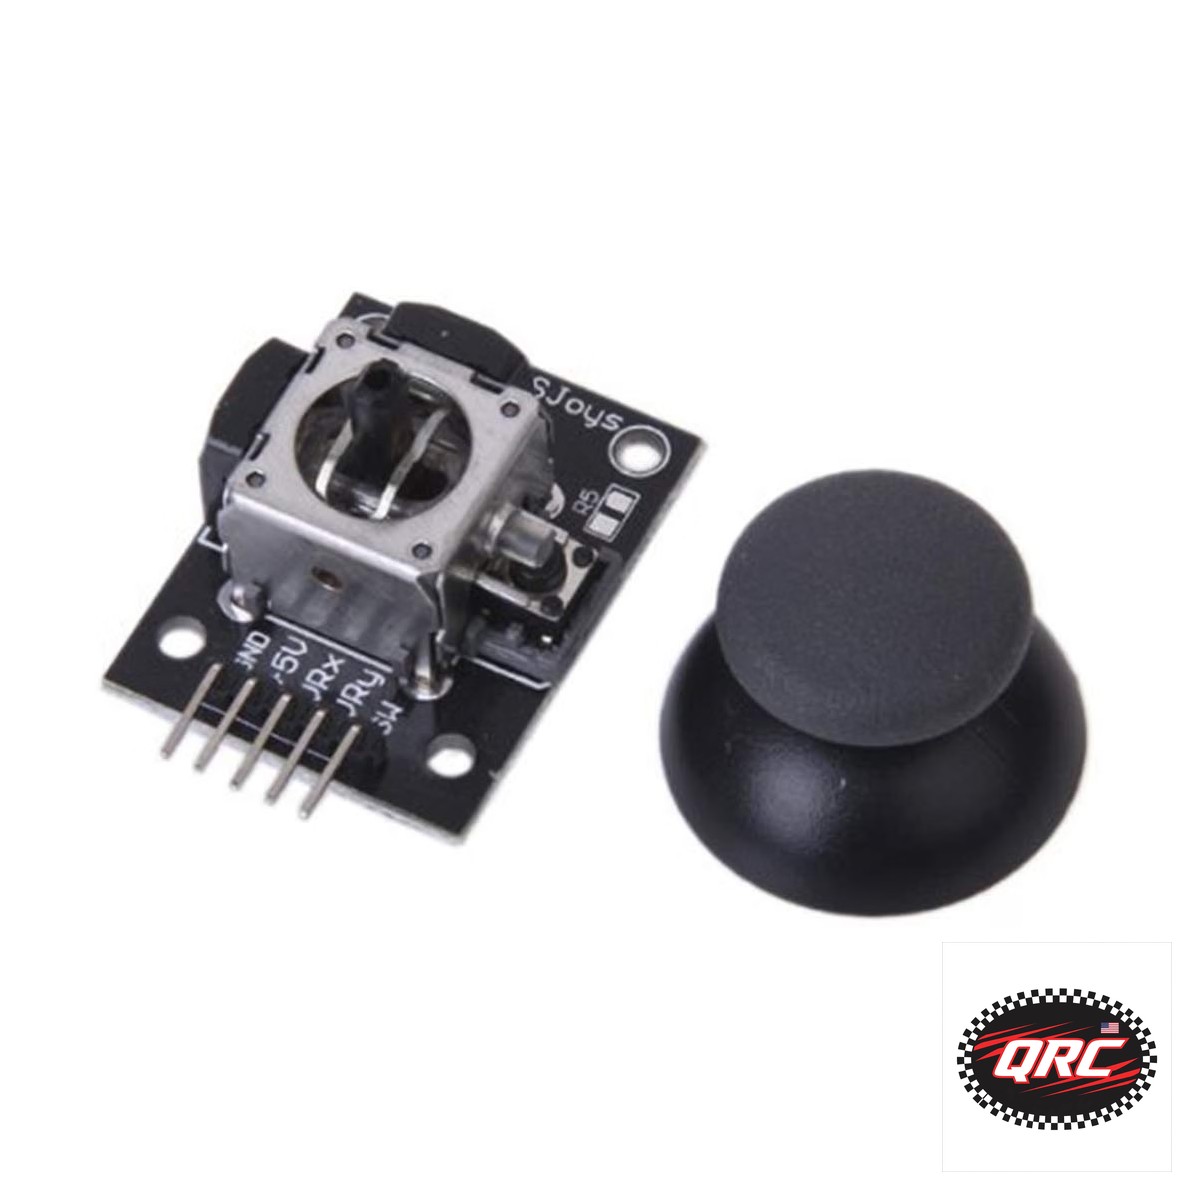
PS2 Joystick Module: Wire the HiLetgo Sensor to Arduino
The HiLetgo PS2 joystick module is a thumbstick sensor with X and Y analog outputs and a pushbutton on Z. It runs on 3.3V to 5V, uses a 10K rocker with a center near 2.5V, and reads through two analog pins plus one digital pin. The single module costs $3.99, and the 5-pack costs $17.95.
Quick facts
| Fact | Value |
|---|---|
| Outputs | X and Y analog, Z pushbutton |
| Input | 3.3V to 5V DC |
| Rocker | 10K, center about 2.5V |
| Range | 0 to 5V |
| Size | 34.0 by 26.0 by 32.0 mm |
| Single / 5-pack | $3.99 / $17.95 |
What does the module output?
The module is a two-axis pushbutton rocker with X and Y 2-axis analog output and Z 1 button digital output.
At rest the rocker sits near the center voltage of about 2.5V, and moving the stick swings each axis across the 0 to 5V range.
Read X and Y as analog values and the pushbutton as a digital input, which matches how the Arduino analogRead reference describes analog input.
How do you wire it?
Connect power and ground first, then wire the X axis output and the Y axis output to two analog pins on the board.
Wire the pushbutton output to a digital pin, so a press reads as a digital input change.
The listing states the wiring diagram shows the connections to an Arduino UNO, and the tutorial linked below shows the same standard layout.
How do you read it in code?
Read each axis with analogRead and expect a value near the middle of the range at rest, since the center sits near 2.5V.
Treat a small band around the center as rest, so a stick that sits slightly off center does not drift the output.
Read the pushbutton with a digital read, and debounce the press in code so one press does not count twice.
Single or 5-pack?
The single module suits one controller or one robot build, and the 5-pack suits multi-stick projects, spares, or classroom sets.
The 5-pack costs less than five single modules, so a build with two sticks plus spares saves money on the pack.
Both options carry the same module: 10K rocker, 3.3V to 5V input, and the same 34.0 by 26.0 by 32.0 mm size.
What did we check on the bench?
We checked the listing states 3.3V to 5V input, a 10K rocker, a center near 2.5V, a 0 to 5V range, and the module size.
We counted 3 images on the single module listing and 1 image on the 5-pack listing.
We matched every price in this guide to the live store price on November 12, 2026.
How do you wire the module to an Arduino UNO?
- Connect the module power pin to 5V or 3.3V, and the ground pin to ground.
- Connect the X axis output and the Y axis output to two analog pins.
- Connect the pushbutton output to a digital pin.
- Upload a sketch that reads both analog pins and the digital pin and prints the values.
- Open the serial monitor, move the stick through its full range, and press the button to confirm all three inputs.
Parts that fit this guide
Shipped fast and securely from our secure facility in New York, providing fast, high quality USA shipping.
HiLetgo Game Joystick Sensor Module, PS2, 2-Axis with Pushbutton ($3.99)
HiLetgo PS2 joystick sensor module at $3.99. Two-axis analog output with a pushbutton, 3.3V to 5V input, 10K rocker, 1 module.
HiLetgo Game Joystick Sensor Module, PS2, 2-Axis with Pushbutton, 5-Pack ($17.95)
HiLetgo PS2 joystick sensor module 5-pack at $17.95. Five modules for multi-stick projects, spares, or classroom sets.
Related parts: Nano V3.0 Development Board, ATmega328P, CH340G, USB-C, Single: Nano V3.0 board for compact joystick controller builds; ELEGOO UNO R3 Microcontroller Board, ATmega328P + ATmega16U2, with USB Cable: ELEGOO UNO R3 board, the classic base for joystick sketches.
Shop the full range: Sensor Modules at Quality RC Parts. See also: Related guide.
Read the companion version of this guide on MTSUAV.
Frequently asked questions
What voltage sits at the center of the stick travel?
About 2.5V. At rest the rocker sits near the center voltage, and moving the stick swings each axis across the 0 to 5V range.
Can the module run on 3.3V or 5V?
Both. The listing states 3.3V to 5V DC input, so it works with 3.3V boards and 5V boards.
How is the pushbutton wired?
The pushbutton output is a digital output on the Z axis. Wire it to a digital pin and read it as a digital input.
Does the 5-pack cost less than five singles?
Yes. The 5-pack costs less than five single modules, which suits multi-stick projects, spares, or classroom sets.
Sources
Last updated: November 12, 2026.