
You can 3D print drone parts at home with a basic printer, one spool of filament, and an afternoon to learn. Mounts, brackets, camera mounts, landing gear parts, and guards are all printable, and printing them yourself beats waiting on shipping every time a small part breaks. This guide walks through what you need, which filament to start with, which parts to print first, and how to fix the problems that trip up every beginner. No experience needed, and no expensive printer required.
The setup is simple. You need an FDM 3D printer that takes 1.75mm filament, a spool of filament, and a clean build plate. A basic printer handles drone parts fine, since most of them are small and do not need a large build volume. Start with a filament that is forgiving, learn the printer, and move to tougher materials once the first prints come out clean. The parts will get better fast, and so will your settings.
Pick Your First Filament to 3D Print Drone Parts
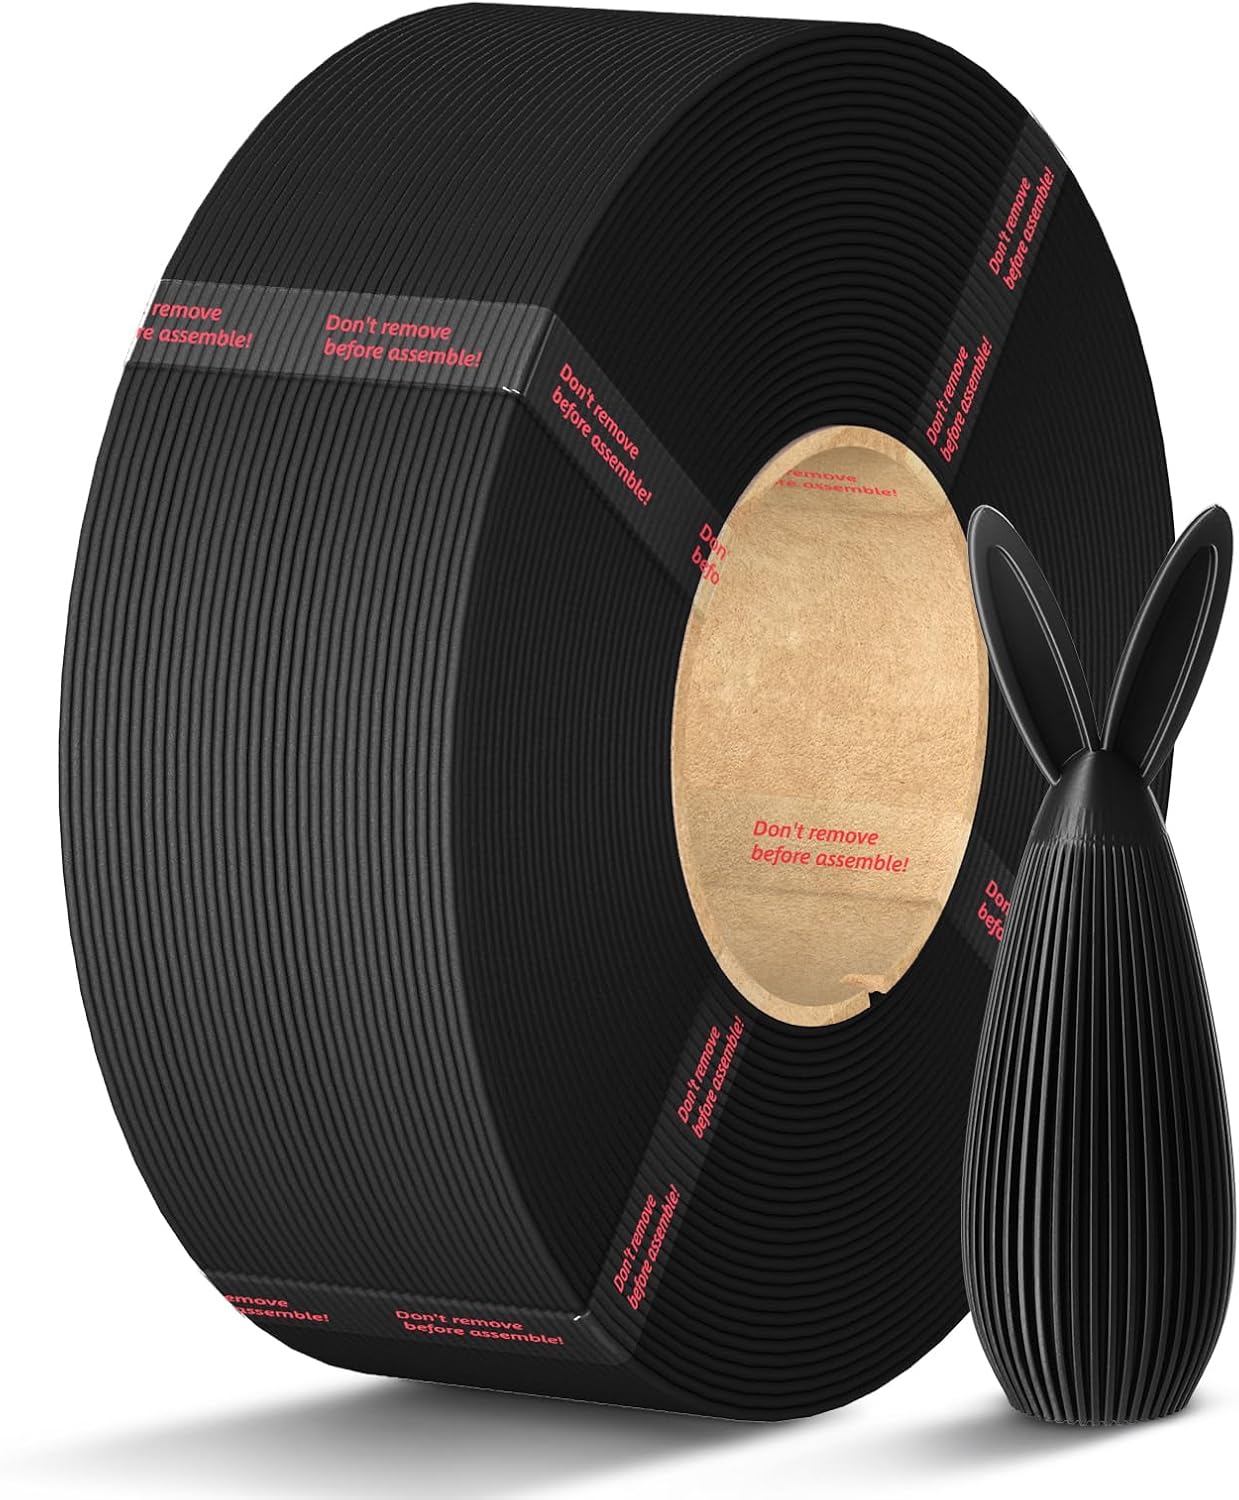
Start with PLA+. It prints almost the same as PLA, so a beginner gets good results fast, and it is tougher than standard PLA, so the parts actually hold up. PLA+ is less brittle, with better impact resistance and stronger layer adhesion, which is what a drone part needs. Print it at a nozzle temperature of 200 to 230C and a bed temperature of 55 to 65C, at speeds up to 300mm/s. A full 1KG spool of PLA+ filament is ready to print and comes in 10 colors.
Plain PLA is fine for practice prints and decorative parts, and it is the cheapest way to learn. The Anycubic PLA filament refill is a 1KG refill coil in 21 colors, and it is a refill only, with no spool included, so you need a reusable spool to use it. Once your prints look good in PLA, switch to PLA+ for the parts that fly. PETG comes later, when you want parts that flex instead of breaking.
Your First Drone Part Prints
Start small and useful. A camera mount, an antenna mount, or a simple bracket is a good first print, because it is small, prints fast, and you can test the fit right away. Print one, check the fit, adjust the settings, and print it again. That loop is how you learn a printer. Do not start with a big frame or a complex housing. Small parts teach you bed adhesion, layer adhesion, and fit, and they use little filament when a print fails.
Print orientation matters as much as the filament. Layer lines are the weak direction, so orient the part so the load pulls across the layers, not along them. A bracket that snaps at a layer line was usually printed in the wrong orientation. Think about which way the part will be pulled and pushed in flight, and lay it flat so the layers stack in the strong direction. A few minutes of thought before printing saves a reprint later.
Test every part before you fly it. Bolt a mount on, check the fit, and tug it the way flight will tug it. A part that fits on the bench and holds on the ground is ready to fly. A part that is loose or cracked on the bench will fail in the air, so fix it now, not after a crash. That test takes a minute, and it is the difference between a part you trust and a part you hope holds.
Fixing the Usual First Print Problems
Warping is the most common first problem. The corners of a flat part lift off the bed, and the print fails or finishes curled. Fix it with a clean bed, a slow first layer, and a thin layer of bed adhesion glue. The Creality 3D printer glue stick is a 21g stick that works with PLA, ABS, PETG, PC, PA, and TPU, and it washes off with water. A glue stick is cheap insurance on every large flat print.
-
PLA+ Filament, 1.75mm, 1KG
$24.99Select options This product has multiple variants. The options may be chosen on the product pageColor
Stringing is the other common problem. Thin strings between parts mean the retraction needs tuning, so increase it a little at a time until the strings stop. Rough surfaces and weak layers usually mean damp filament, so store the spool sealed with desiccant and dry it before a big print. Most beginner problems have simple fixes, and each one teaches you something about the printer. Keep the first prints small, fix one problem at a time, and your drone parts will be flying within a weekend.
Ships from our secure NY warehouse in the USA
Quality RC Parts is a USA shop, and every order ships from our secure NY warehouse. Orders leave in 1 to 2 business days with tracking sent by email, and shipping is free on orders over $100. No overseas wait, no customs. We are a working repair shop, and we stand behind every part we sell.