
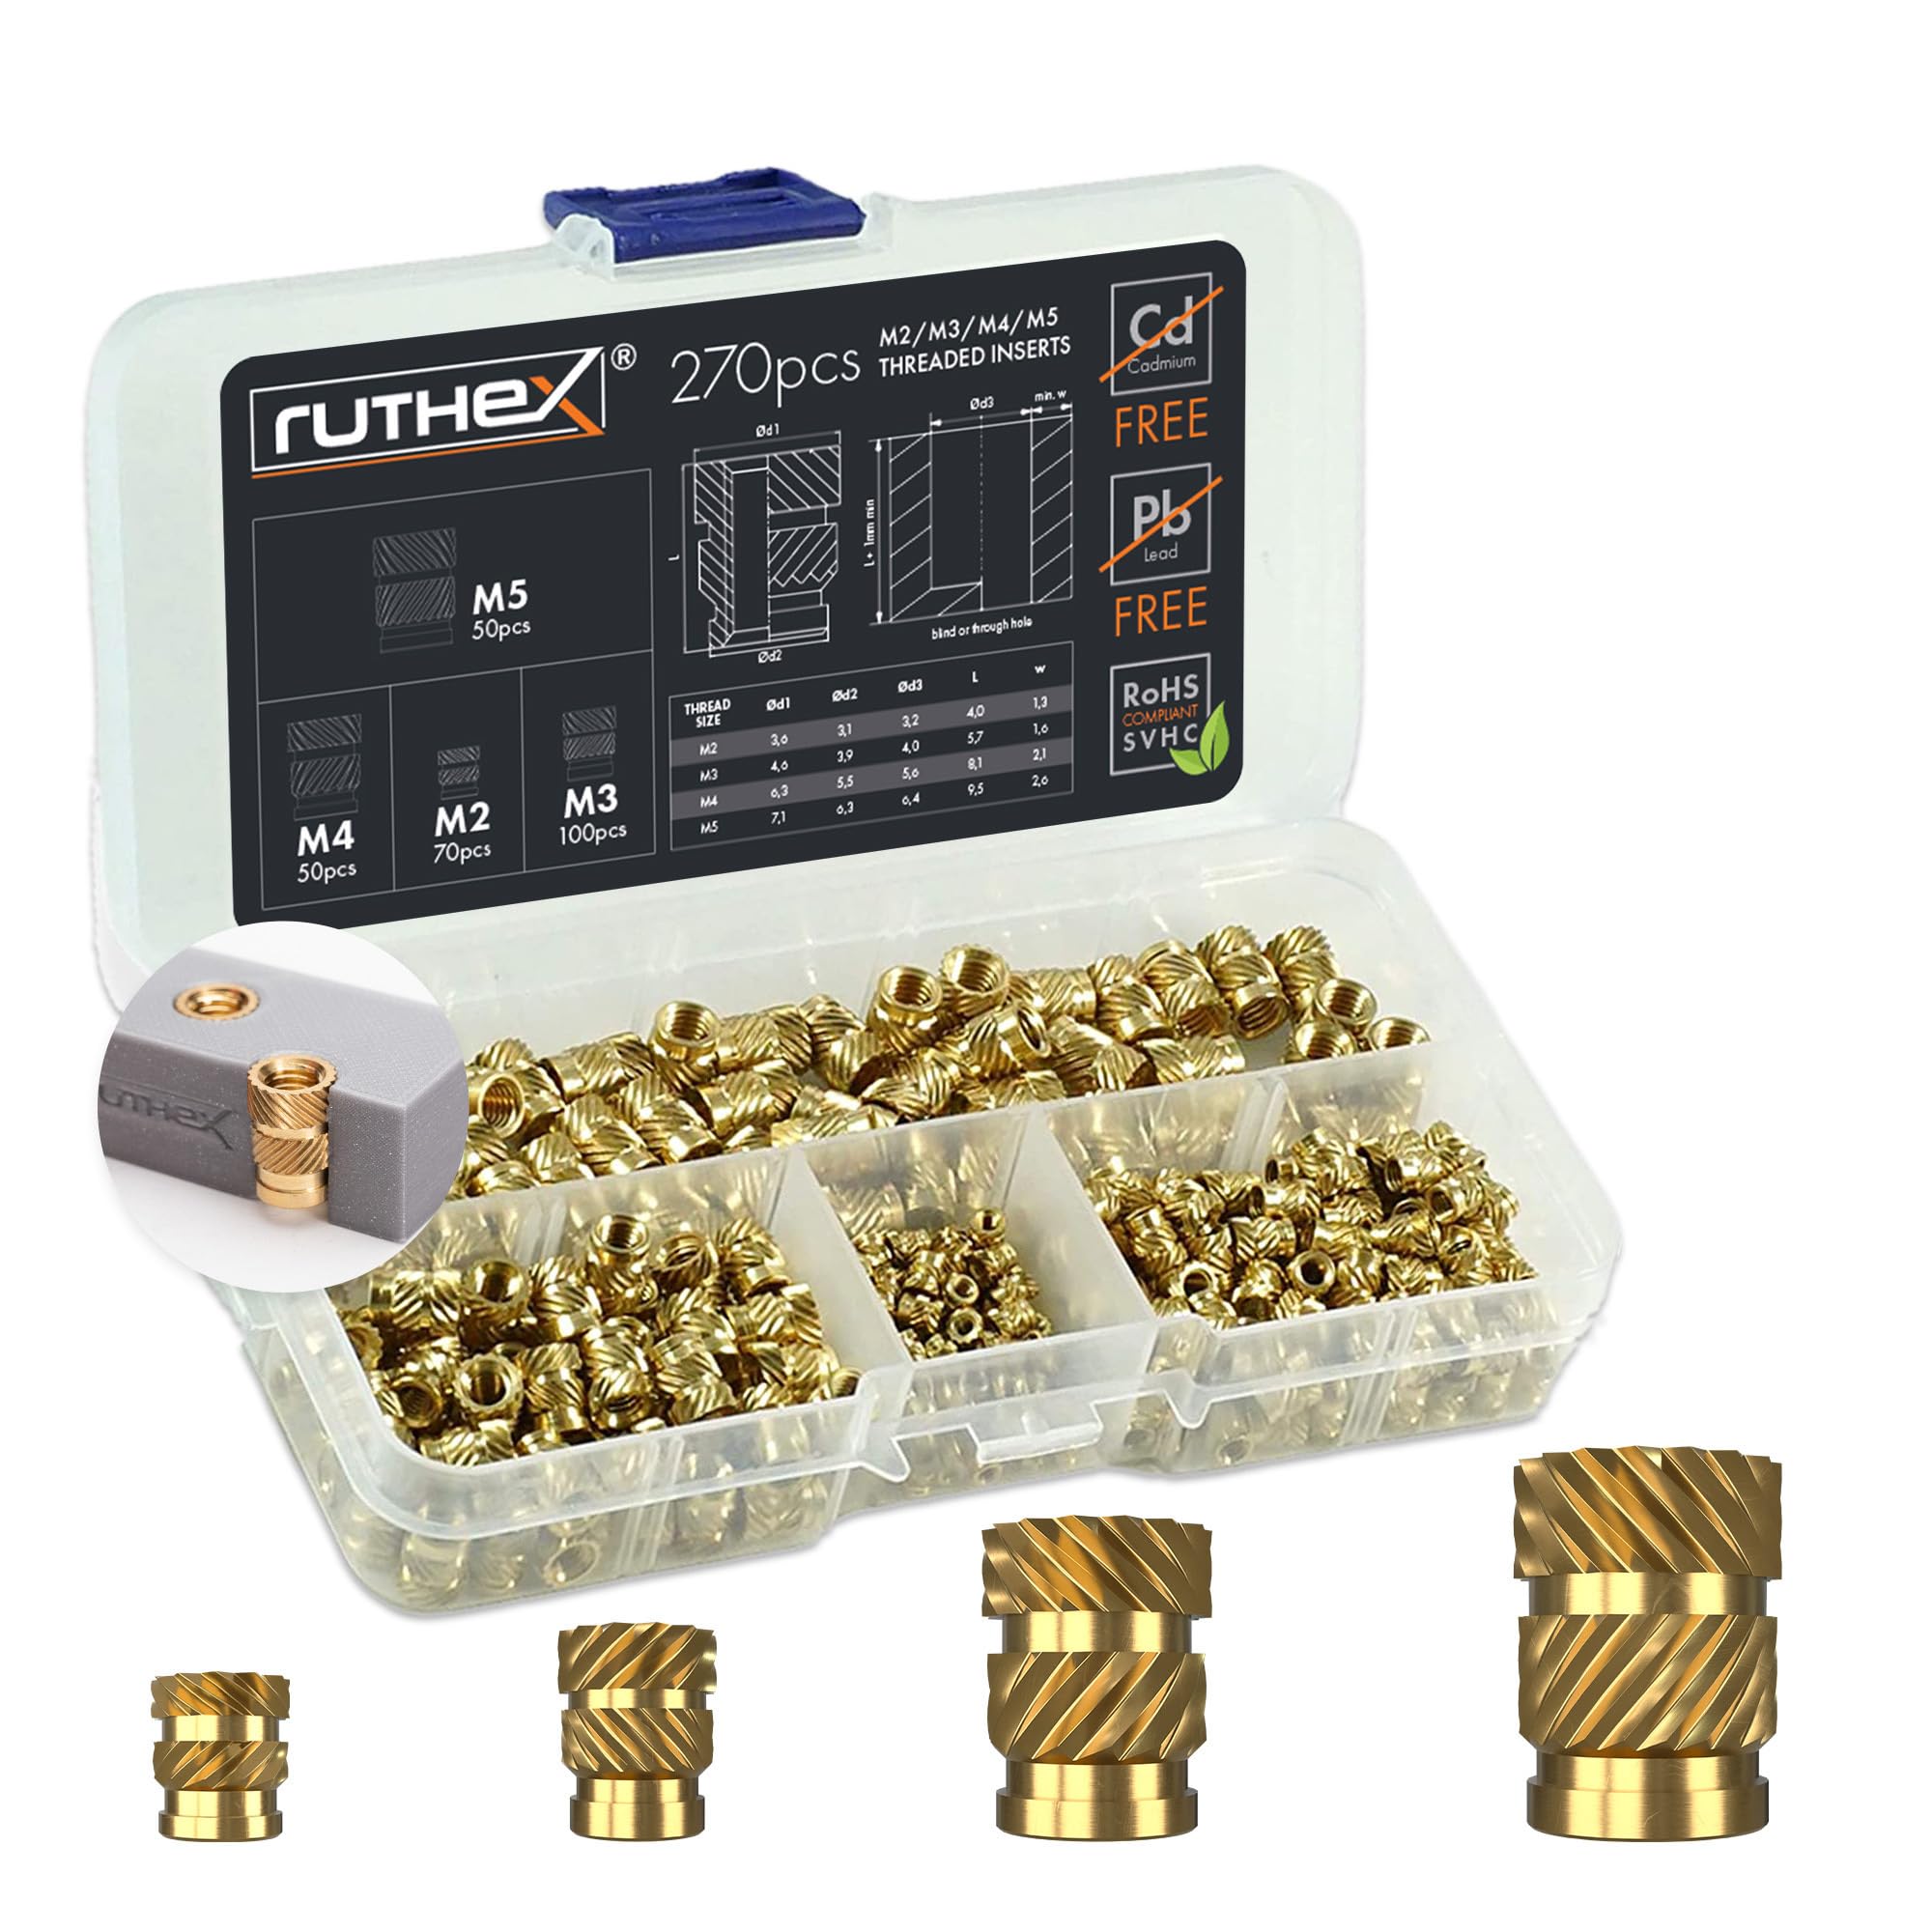
A 3D printed part with a screw hole has a weak point: plastic threads strip, and a screw driven straight into PLA or PETG will not survive many removals. A brass heat-set threaded insert fixes that. You press the insert into a printed hole with a hot soldering iron, the plastic melts around the knurled outside, and when it cools you have a real metal thread that holds a screw as many times as you need. Two new ruthex insert kits landed at Quality RC Parts, and this guide covers both, plus how to install them without ruining the part. Both kits are live in the store now, shipped fast and securely from our secure facility in New York, providing fast, high quality USA shipping.
The two new insert kits
| Kit | Contents | Price |
|---|---|---|
| ruthex M3 Threaded Inserts, 100-Pack | RX-M3x5x4 brass heat-set inserts, M3 thread, 100 pieces | $14.99 |
| ruthex Threaded Inserts Assortment Box | M2, M3, M4, M5 brass heat-set inserts, 270 pieces | $44.99 |
M3 100-pack: the working size
The ruthex M3 Threaded Inserts VORON, RX-M3x5x4 Brass Heat-Set Inserts for 3D Prints, 100-Pack is $14.99. M3 is the working thread size for printed parts: motor mounts, electronics brackets, camera mounts, and enclosure panels all use M3 screws. The inserts are RX-M3x5x4, which is the size the VORON printer design calls for, so they fit the holes in VORON printed parts and in any part designed around the same insert. One hundred pieces covers a full printer build with spares left over, and at this price the pack is the buy when you know the size you need.
Assortment box: M2 to M5, 270 pieces
The ruthex Threaded Inserts Assortment Box, M2 M3 M4 M5 Brass Heat-Set Inserts for 3D Prints, 270-Piece is $44.99. The box holds M2, M3, M4, and M5 inserts, 270 pieces in total. It is the buy when the bench builds different things: M2 for small electronics and sensor boards, M3 for the usual brackets and mounts, M4 and M5 for structural parts and anything that carries load. An assortment box also answers the question of which size a part needs without ordering four separate packs. Keep the box on the bench and the insert you need is in it.
How to install a heat-set insert
Design the hole to the insert size, not to the screw size. The hole in the printed part should match the insert outer diameter the listing calls for, with the depth the insert needs. Print the hole vertical when you can: a hole printed on its side comes out oval and the insert will sit crooked. Use a soldering iron tip made for inserts, or a plain tip with the insert held on the end, and set the iron to the plastic temperature, around 200 to 220 degrees for PLA and higher for PETG and ABS. Push the insert straight down with steady pressure and let the heat melt the plastic around the knurling. Stop when the top of the insert is flush with the surface, hold it straight while the plastic cools, and do not touch it until it is set. A crooked insert is a stripped hole waiting to happen, so straight and flush is the whole job.
Common mistakes are easy to avoid. Too much heat melts a crater around the insert and leaves it loose. Too little heat leaves the insert proud of the surface and the screw will not seat. A hole that is too small cracks the part when the insert goes in, and a hole that is too big leaves nothing for the knurling to bite. Print one test hole and install one insert before you commit to a full part. If the test insert holds a screw tight and sits flush, the settings are right.
What printed parts need inserts
Any printed part that gets assembled and taken apart more than once needs inserts. Drone frames and camera mounts, printer parts that hold rods and belts, electronics enclosures with lids, robot chassis panels, and RC parts that bolt to metal all qualify. A screw into bare plastic works once or twice. A screw into a brass insert works for the life of the part. When you design a part, put inserts where the fasteners go and put the holes in the CAD model at the insert size, not the screw size, so the slicer prints the right hole the first time.
Parts that go with inserts on the bench
The Creality Ender 3 V3 SE and KE Quick-Swap Hotend Kit, Ceramic is $49.99, and the Creality EP Build Plate 235x235mm, Dual-Side Epoxy Coating is $23.99. Both are Ender 3 upgrades covered in the printer upgrades guide linked below, and both are parts that bolt to a printer that is itself held together with inserts and fasteners. A printer that prints accurate holes is the first step to inserts that sit straight, so a hotend that holds temperature and a plate that holds flat pay off in every part that follows.