Posted on

3D Printed RC Car Parts: Weekend Upgrades You Can Print

A 3D printer turns a broken RC car into a weekend project. Instead of waiting a week for a replacement bumper or body mount, you print one on Saturday morning and you are driving by lunch. 3D printed RC car parts cost a few cents of filament, fit your exact car, and let you test upgrades without buying a drawer full of spares. This guide covers the parts worth printing first, the materials that hold up on the track, and the prints to skip. Measure twice, print once, and keep the failed prints as reminders of what not to do next time.

3D printed RC car parts that actually hold up

The material matters more than the model. RC cars take hits, so brittle parts fail fast. PETG is the workhorse here. It flexes instead of snapping, and its impact resistance is twice that of standard PLA. That flex is what keeps a bumper alive after a bad landing or a wall tap. PLA+ is the other good choice. It is tougher than standard PLA, less brittle, and holds up better under impact, with stronger layer to layer adhesion. Use PLA+ for parts that need to stay stiff, like servo mounts and gear covers, and PETG for parts that need to give a little, like bumpers and skid plates. Standard PLA works for display parts and mockups, but it will crack on the first hard hit, so do not trust it on anything structural.

Anycubic PETG filament refill spool, black, for 3D printed RC car parts

Print orientation matters as much as material. Layer lines are the weak point, so orient the part so impacts hit across the layers, not along them. A bumper printed flat will split between layers when it hits a curb. The same bumper printed on edge takes the hit across solid plastic. Use at least four walls and 40 percent infill on anything that takes a load. A solid looking part with two walls and 15 percent infill is a decoration, not a part. PETG prints best with a little extra retraction tuning, and a glue stick on the bed keeps large flat parts from lifting while they print.

Start with bumpers and body mounts

Bumpers and body mounts are the best first prints for RC cars. They break often, they are simple shapes, and a bad print costs almost nothing. Measure your stock part, model a replacement with a little extra material at the mounting holes, and print it in PETG. Body mounts take the same treatment. A body mount that flexes slightly will save the body shell in a rollover, while a rigid one transfers the hit straight to the shell. Print a few spares at once. When one breaks at the track, you swap it in two minutes and keep driving instead of packing up early.
Anycubic PLA+ filament refill spool, black, for 3D printed RC car mounts

Battery trays and ESC mounts are the next step. These parts sit close to heat and vibration, so they need material that stays stiff when warm. Polymaker HT-PLA Pro handles heat better than PLA or PLA+, and it prints up to 300mm/s with no enclosed chamber. Anneal it at 100C for 30 minutes for the best heat resistance. A battery tray printed in HT-PLA Pro will not soften next to a warm motor, and an ESC mount will hold its shape through a long bash session. If your car runs hot, this is the filament to reach for.

What to print first this weekend

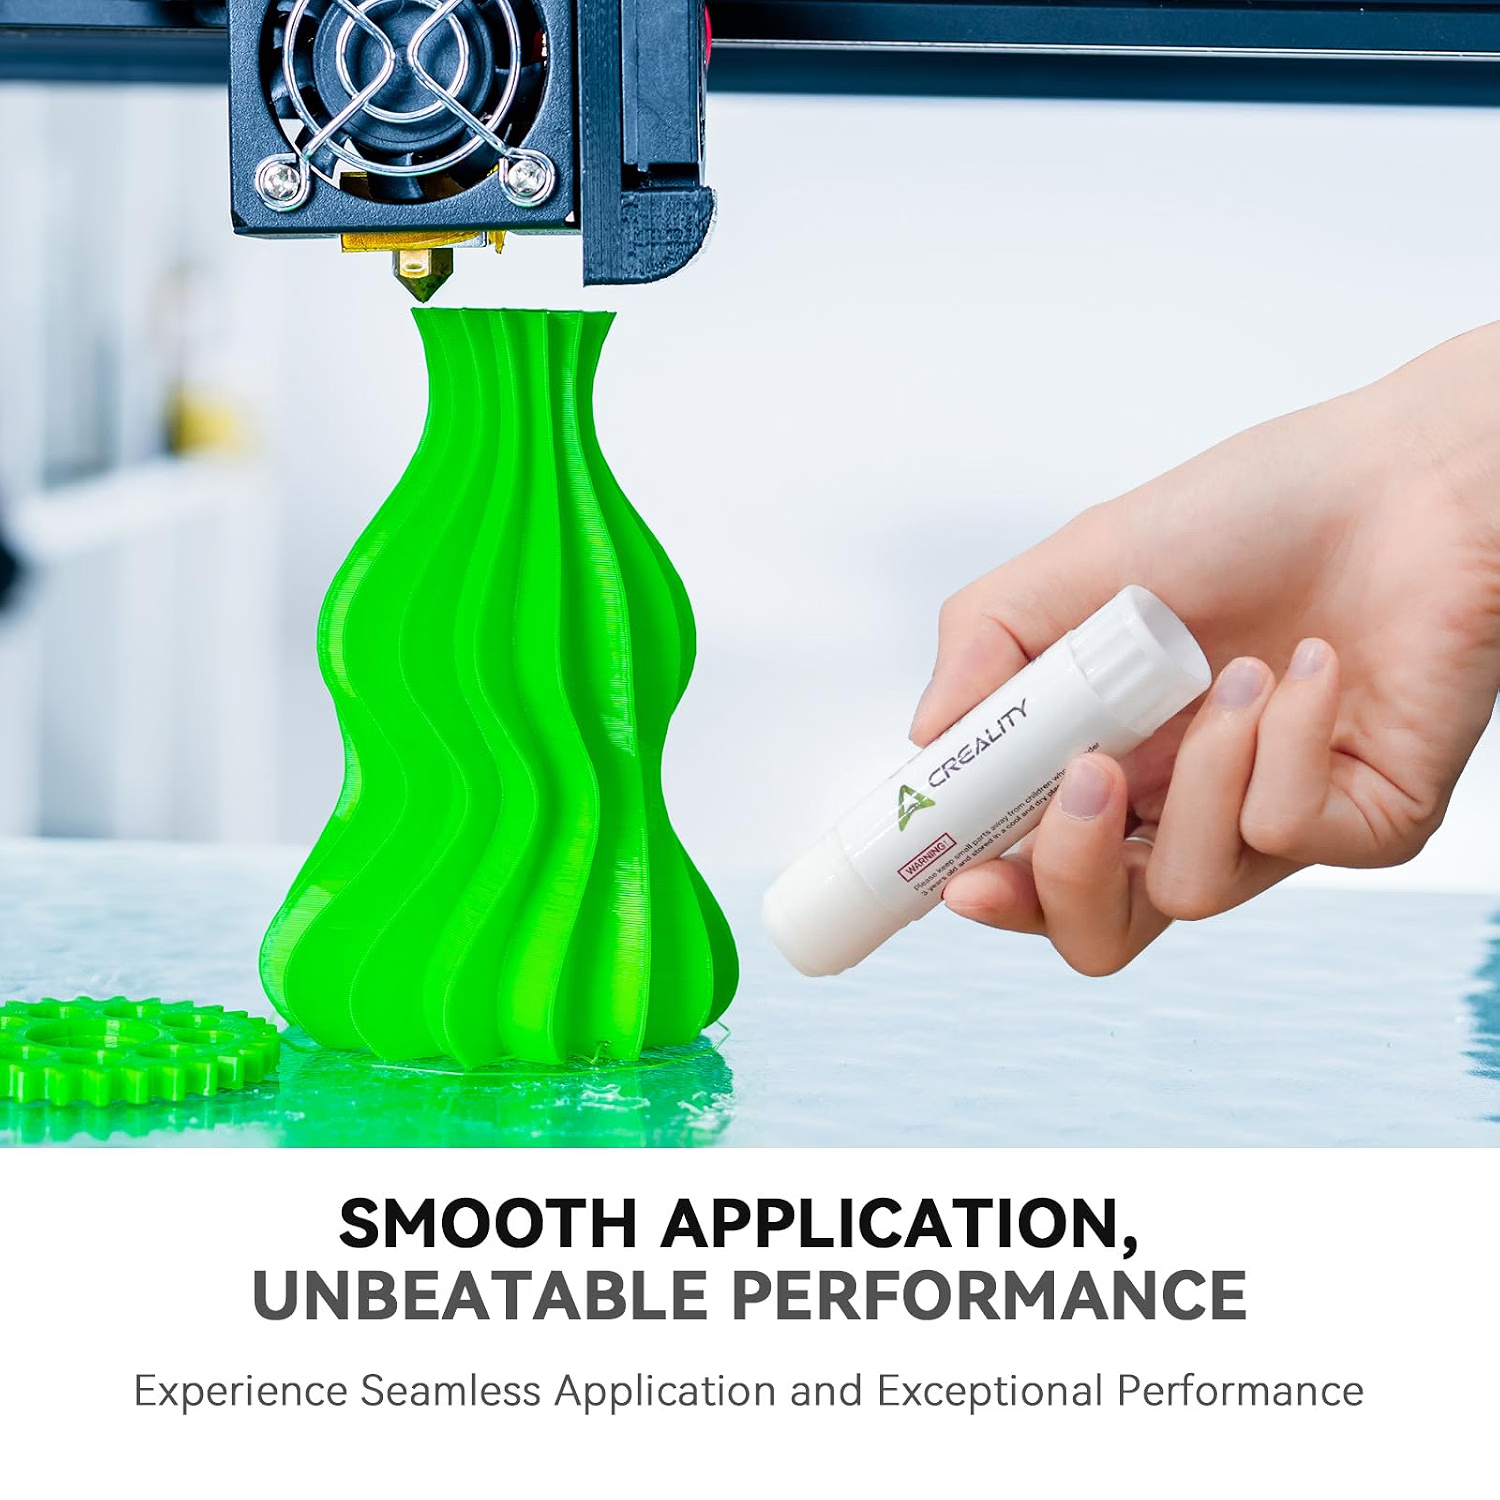
Start with one bumper and one set of body mounts in Anycubic PETG. Print them, fit them, and drive the car hard. If they survive a full battery pack, print spares and move on to a skid plate and a servo mount in Anycubic PLA+. Keep the stock parts as templates. When a printed part breaks, look at where it failed and add material there on the next version. That loop is the whole point of printing your own RC car parts. You are not just replacing a part, you are improving it every time it breaks, and each version costs a few cents of filament. Check the 3D Printer Filament category for the materials in this guide, and keep a Creality glue stick on the bench so big flat parts stay stuck while they print.

Ships from our secure NY warehouse in the USA

Quality RC Parts is a USA shop, and every order ships from our secure NY warehouse. Orders leave in 1 to 2 business days with tracking sent by email, and shipping is free on orders over $100. No overseas wait, no customs. We are a working repair shop, and we stand behind every part we sell.
Posted on

3D Printer Maintenance: Keep Your Printer Printing Like New

A 3D printer is a machine, and machines need maintenance. A printer that gets a few minutes of care every week prints clean for years. A printer that gets none of it slowly gets worse, and the owner blames the filament or the settings when the real problem is a dirty bed or a worn nozzle. 3D printer maintenance is not complicated, and most of it takes less time than one failed print. This guide covers the weekly habits that keep a printer printing like new.

The payoff is simple: fewer failed prints, better first layers, and parts that fit. Most print problems are maintenance problems. Warping comes from a dirty bed. Stringing comes from a worn nozzle or damp filament. Weak layers come from a clogged nozzle or a loose belt. Fix the maintenance first, and most of the problems go away without touching the settings.

3D Printer Maintenance: The Weekly Five Minutes

Once a week, clean the build plate. Wash it with warm water and a little soap, dry it fully, and wipe it with isopropyl alcohol before the next print. Skin oil kills adhesion, so do not touch the print surface with bare hands. Check the belts for tension and the wheels for dust, and wipe the frame down. Look at the nozzle for buildup, and clean it while it is hot. Five minutes a week keeps the printer in good shape, and it is the single best habit a printer owner can build.

Once a month, go deeper. Check the nozzle for wear and replace it if the hole looks oval or the prints look rough. Check the Bowden tube for wear at the ends, and trim it if it is damaged. Lubricate the lead screw and the smooth rods with a light machine oil. Check the fans for dust and clean them, since a dusty fan cools badly and parts warp. None of this needs special tools, and all of it is in the printer manual.

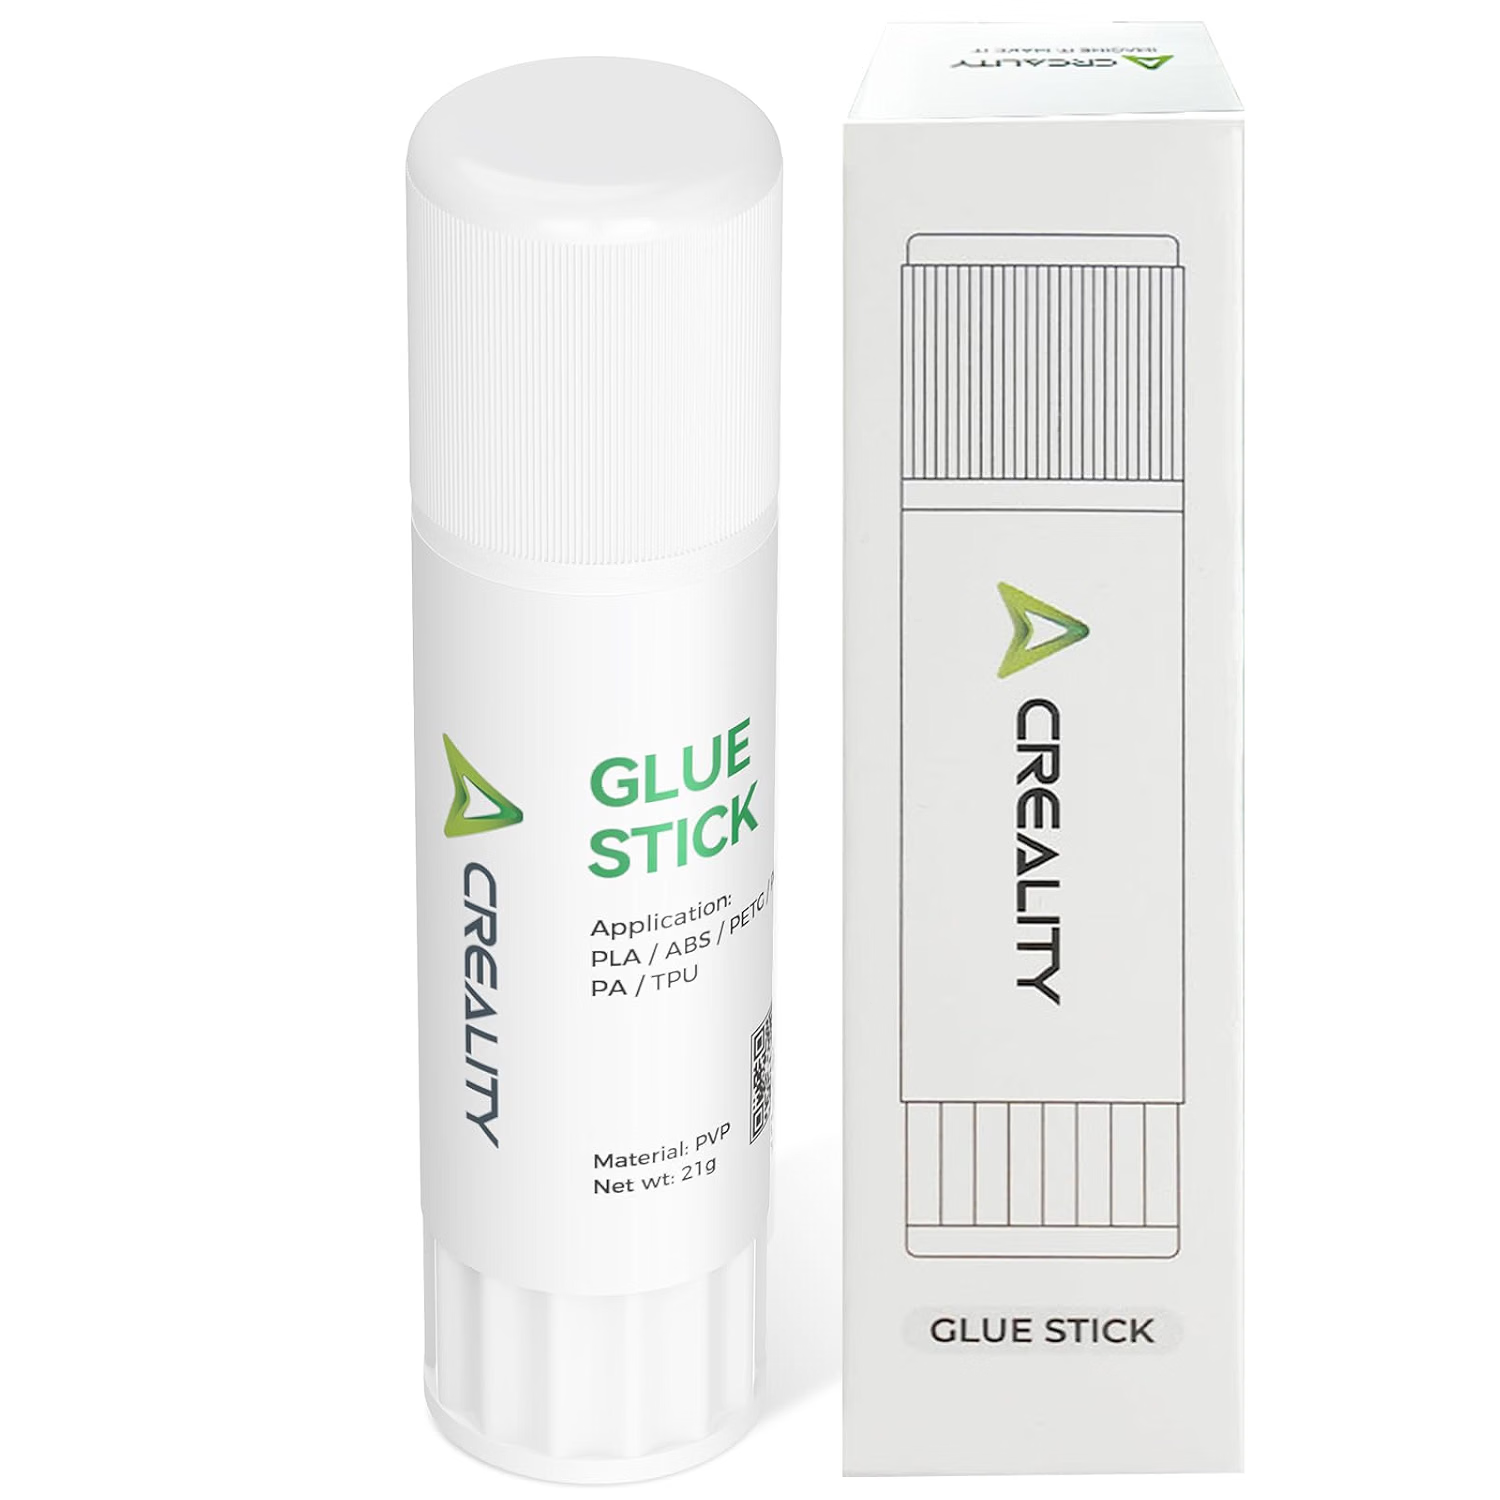
Creality 3D printer glue stick, 21g, pack of 1

The Bed Is Half the Battle

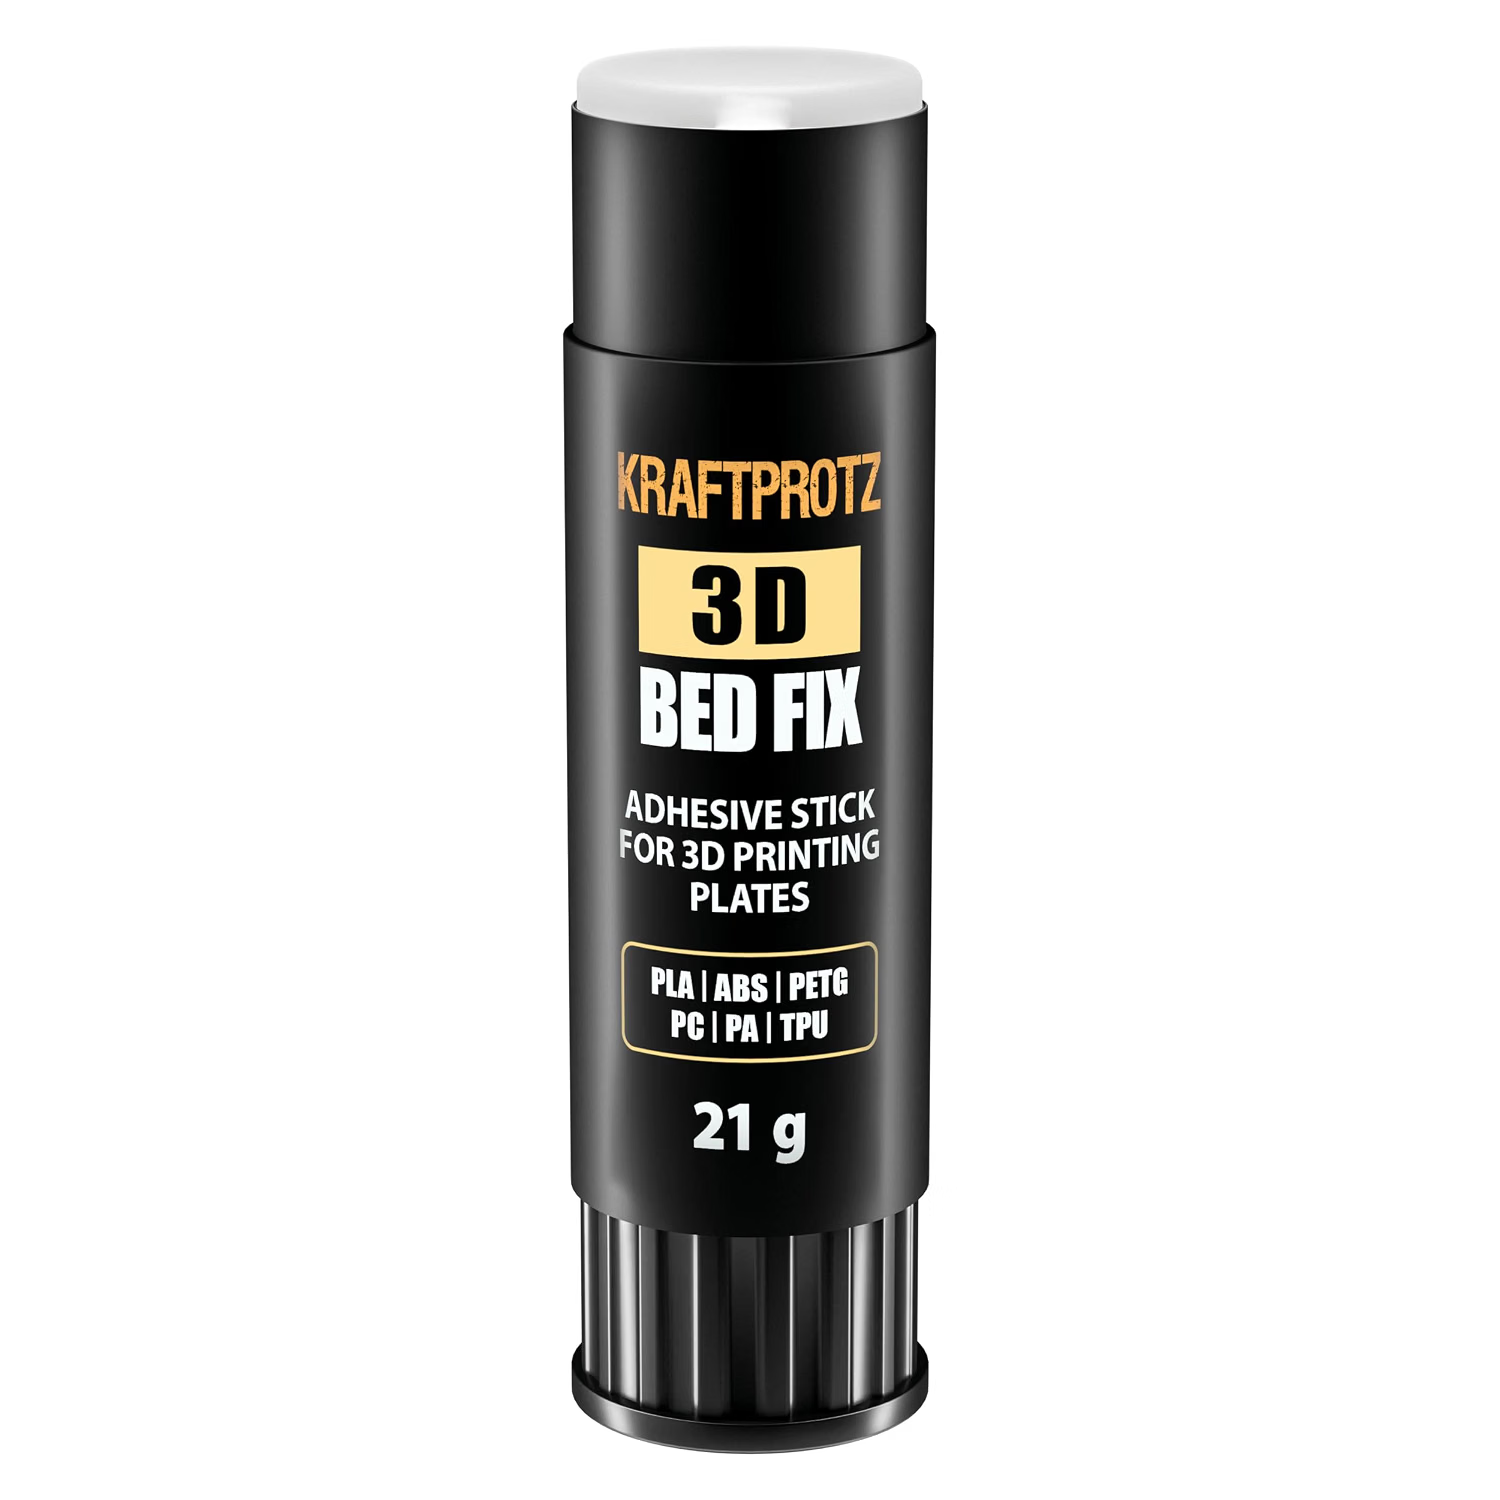
Bed adhesion is where most prints fail, and it is where maintenance pays off fastest. A clean bed, a level bed, and a thin layer of bed adhesion glue will hold a print flat that would otherwise lift and warp. The Creality 3D printer glue stick is a 21g PVP solid glue stick that works with PLA, ABS, PETG, PC, PA, and TPU, and it washes off with water. Apply a thin, even layer on a cold plate, print, let the plate cool, and lift the part off. A generic bed adhesion glue stick does the same job, water soluble and solvent free, for the same six filaments.

Reapply glue every few prints, not every print, and wash the plate with water when residue builds up. A thick layer of glue makes the bottom rough and harder to remove, so thin and even is the rule. Store the stick capped so it does not dry out. A 21g stick lasts a long time, because each application is only a thin layer. Pair a clean bed and a glue stick with a slow first layer, and warping stops being a problem.

Nozzle, Feeding, and Filament

The nozzle is a wear item, and it wears faster with abrasive filaments. A worn nozzle prints rough surfaces and weak layers, and no setting fixes it. Replace the nozzle when prints get rough, and keep a spare on hand. Check the extruder gears for dust and filament debris, and clean them so they grip the filament. Keep the filament path clear, and make sure the filament feeds smooth without sharp bends.

Keep spares on hand. A spare nozzle, a spare glue stick, and a spare roll of tape cost little and save a weekend when something wears out mid print. A printer that is maintained and stocked is a printer that prints when you need it, not one that waits on a parts order. Put the spares in a small box next to the printer, so they are there when you reach for them.

Filament care is part of printer maintenance too. Keep spools sealed with desiccant when you are not printing, and dry damp filament before a big print. Damp filament prints rough and weak, and it looks like a printer problem when it is really a storage problem. The Anycubic PLA filament refill and the Anycubic PETG filament refill both print best when they are dry, so store them right. A dry spool, a clean bed, a good nozzle, and a glue stick cover almost every print problem a hobbyist will meet.

Ships from our secure NY warehouse in the USA

Quality RC Parts is a USA shop, and every order ships from our secure NY warehouse. Orders leave in 1 to 2 business days with tracking sent by email, and shipping is free on orders over $100. No overseas wait, no customs. We are a working repair shop, and we stand behind every part we sell.
Posted on

How to Store Filament So It Stays Dry and Prints Clean

Filament absorbs moisture from the air, and damp filament prints badly. Layers do not stick, surfaces come out rough, strings appear everywhere, and parts come out weak. The fix is not better settings, it is dry filament. Learning how to store filament properly is the cheapest upgrade a 3D printer owner can make, because it fixes problems that look like printer problems but are really storage problems. This guide covers how to store filament day to day, how to tell when it has gone damp, and how to dry it.

The signs of damp filament are easy to spot once you know them. The printer pops and crackles as it extrudes, which is water boiling out of the filament. Prints string more than usual, surfaces look rough and bubbly, and layer adhesion gets worse. Parts that printed fine a month ago start failing for no clear reason. If a spool has been sitting out on the printer for weeks, damp filament is the first thing to check, not the printer settings.

How to Store Filament Day to Day

Keep filament sealed when you are not printing. A sealed bag with desiccant is the minimum, and a dry box is better. Put the spool back in the bag after every print session, and do not leave it sitting on the printer for days between prints. Store the bags in a cool, dry place, away from windows and damp basements. Label each bag with the material and the date you opened it, so you know which spools are oldest and which ones need drying first.

Desiccant is cheap and it works. A few silica gel packs in each bag keep the air inside dry, and they change color when they are used up, so you know when to replace or recharge them. Recharge silica gel by heating it in an oven until the color comes back. A dry box with a seal and a humidity gauge is the next step up, and it is worth it if you own more than a few spools. The goal is simple: filament should only touch open air while it is printing.

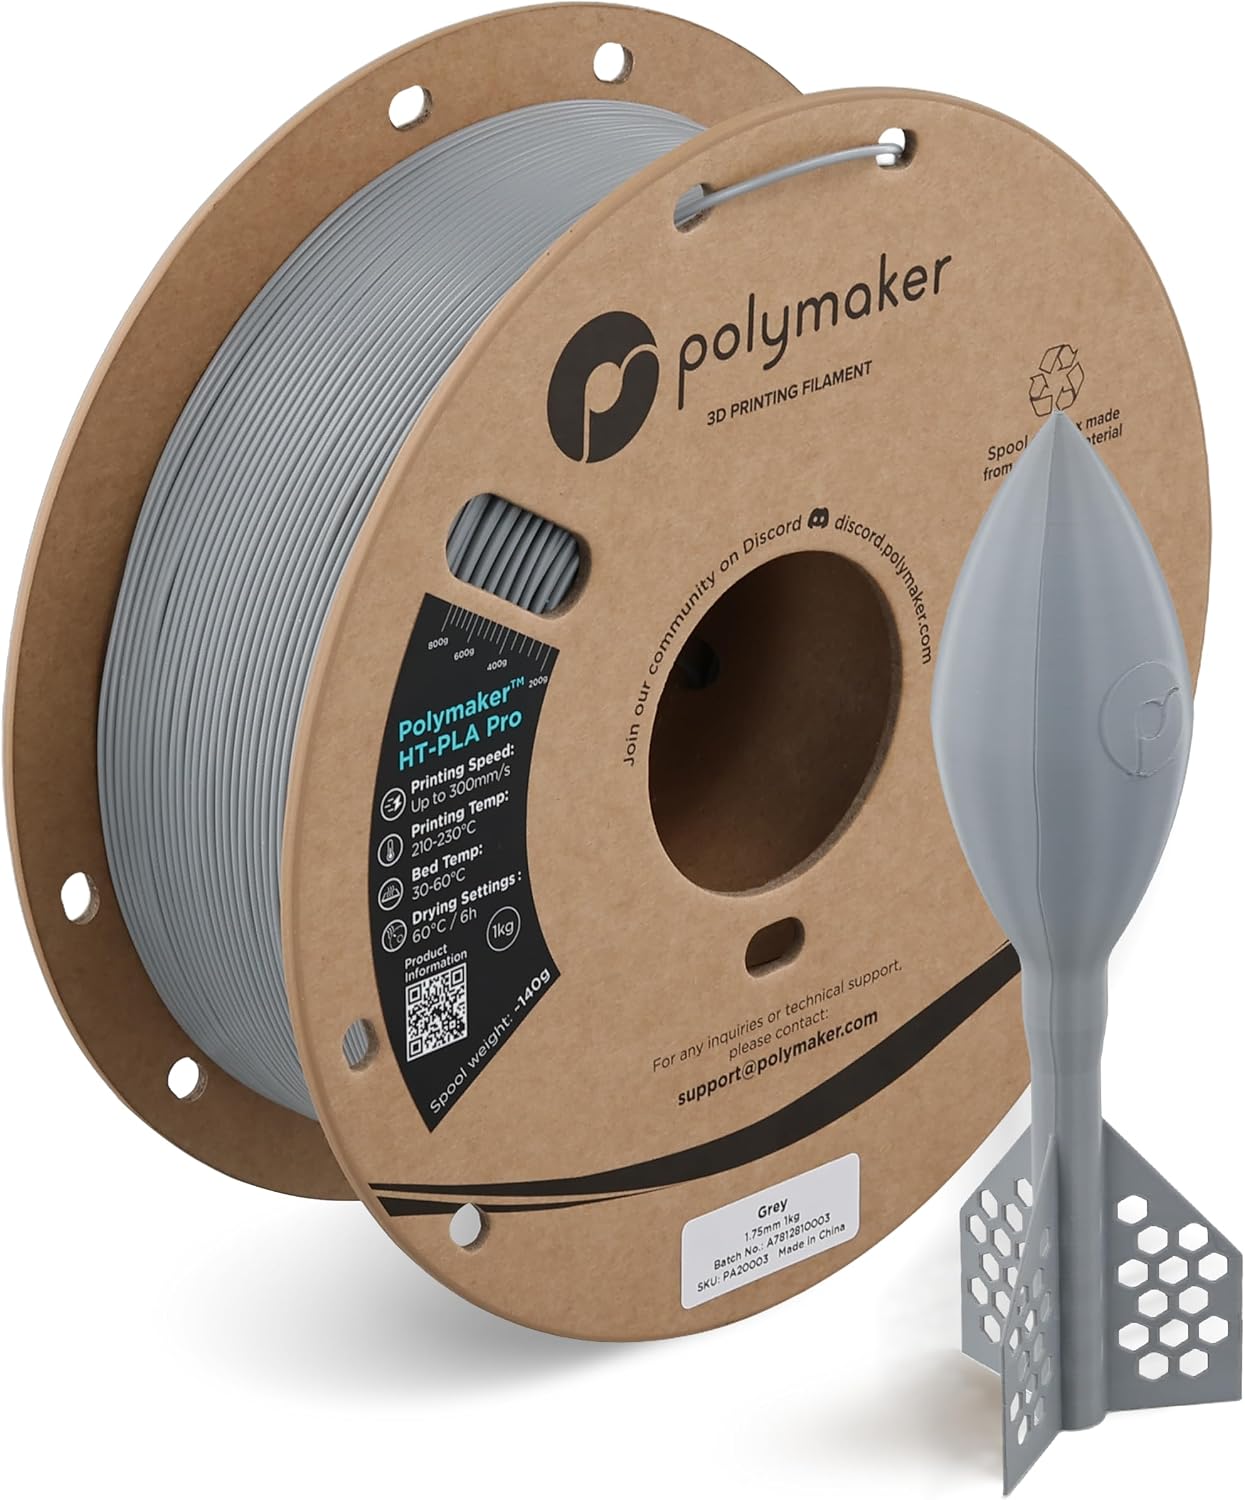
Polymaker HT-PLA Pro filament spool in grey, 1.75mm

Drying Filament That Got Damp

Damp filament can be saved by drying it. Polymaker HT-PLA Pro dries at 60C for 6 hours if it has absorbed moisture, and that is the spec to follow for that filament. Dry it in a filament dryer or a low oven that holds a steady temperature, and let it cool sealed before you print. A spool that pops and strings before drying should print clean after it. If a spool still prints badly after drying, it may be too far gone, and it is time to replace it.

Dry filament before a big print, not after a failed one. If a spool has been sitting out, dry it first and save the filament and the time. The same rule applies to refills. A refill coil is the same filament as a full spool, and it goes damp the same way. Keep the coil tight and sealed, store it on its spool in a bag, and dry it before printing if it has been out. The Anycubic PLA filament refill and the Anycubic PLA+ filament refill both need the same care as any spool.

Filament Storage for Drone and RC Builders

Drone and RC builders usually own several materials at once, and each one needs the same dry storage. Keep PLA+ for mounts and brackets, PETG for guards and flexing parts, and HT-PLA Pro for hot parts, each in its own sealed bag with desiccant. Write the material and color on the bag, so you grab the right spool without opening three bags. A little organization here saves a lot of failed prints later, and it keeps the bench clear.

The rule is short: seal it, dry it, label it. Filament that stays dry prints clean, sticks well, and makes strong parts. Filament that sits out goes damp, prints rough, and wastes your time. A few sealed bags and some desiccant cost less than one failed print, and they pay for themselves the first time a spool prints clean after a month on the shelf. Check the 3D printer filament range for the materials you print most, and store them right from the day they arrive.

Ships from our secure NY warehouse in the USA

Quality RC Parts is a USA shop, and every order ships from our secure NY warehouse. Orders leave in 1 to 2 business days with tracking sent by email, and shipping is free on orders over $100. No overseas wait, no customs. We are a working repair shop, and we stand behind every part we sell.

Posted on

Best Filament FPV Drone Builders Use for Frames and Mounts

FPV drones crash. That is the job, and it is why the filament matters as much as the design. A frame or mount printed in the wrong material cracks on the first hard landing, while the same part printed in the right material flexes, absorbs the hit, and flies again. The best filament FPV drone builders use depends on the part, because frames, mounts, and guards fail in different ways. This guide compares PLA+, PETG, and HT-PLA Pro for FPV drone frames and mounts, and tells you which one to pick for each part.

Three things decide the pick. Impact resistance decides whether a part survives a crash. Layer adhesion decides whether it splits along a layer line. Heat resistance decides whether it softens near motors and speed controllers. No single filament wins all three, so the right answer is to match the filament to the part. Print the rigid parts in one material, the flexing parts in another, and the hot parts in a third.

Best Filament FPV Drone Frames: PLA+

PLA+ is the default pick for FPV drone frames and mounts. It is tougher than standard PLA, less brittle, and holds up better under impact, with stronger layer adhesion. That makes it right for camera mounts, GoPro mounts, antenna mounts, arm brackets, and housings. It prints at a nozzle temperature of 200 to 230C and a bed temperature of 55 to 65C, at speeds up to 300mm/s, so it prints almost like PLA. If you only stock one filament for FPV parts, stock PLA+.

A full 1KG spool of PLA+ filament is ready to print, with 10 colors to choose from. If you already own reusable spools, the Anycubic PLA+ filament refill is the same tough PLA+ as a refill coil, in 8 colors. Both print the same way, so pick the spool if you need one and the refill if you already have one. Either way, print your next mount in PLA+ and see how it holds up after a crash.

Anycubic PLA+ filament refill spool in black, 1.75mm

PETG for Parts That Must Flex

PETG is the pick when a part must flex instead of breaking. Its impact resistance is twice that of standard PLA, and it bends under load instead of cracking through. That makes it right for guards, bumpers, skid plates, and chassis pieces that take direct hits. PETG also resists chemicals and water better than PLA or PLA+, which matters for a drone that flies outside in dirt and wet grass. The Anycubic PETG filament refill is a 1KG refill coil in 5 colors, and it is a refill only, with no spool included, so you need a reusable spool to use it.

PETG strings more than PLA+, so tune retraction until the strings stop, and print the first layer slow on a clean bed. Keep the filament dry, since damp PETG prints rough and weak. The extra care is worth it for parts that take hits, because a PETG guard that flexes and survives beats a PLA+ guard that cracks, even though PLA+ is the tougher material in most other ways.

HT-PLA Pro for Hot Spots

Some FPV parts sit near heat. Motor mounts, speed controller housings, and electronics enclosures can get hot enough to soften PLA and PLA+. That is where HT-PLA Pro belongs. It combines PLA Pro toughness with HT-PLA heat stability, prints up to 300mm/s, and anneals at 100C for 30 minutes for the best heat resistance. Print it at a nozzle temperature of 220 to 230C and a bed temperature of 60 to 65C, with no enclosed chamber and no hardened nozzle needed. The Polymaker HT-PLA Pro filament is a full 1KG spool in 11 colors.

Print orientation matters for FPV frames too. Lay a frame flat so the layers stack against the load, and a hard landing pulls across the layers instead of splitting them apart. A camera mount printed upright snaps at the base, while the same mount printed flat takes the hit. Think about the crash direction before you slice, and the part will last longer. The filament is only half the strength of a printed part, and orientation is the other half.

The short version is simple. Print mounts, brackets, and frames in PLA+. Print guards, bumpers, and parts that must flex in PETG. Print motor mounts, enclosures, and parts near heat in HT-PLA Pro. Print practice parts and prototypes in PLA. That is the whole system, and it covers every part on an FPV drone. Browse the 3D printer filament range to compare all four, and stock the ones that match the parts you print most.

Ships from our secure NY warehouse in the USA

Quality RC Parts is a USA shop, and every order ships from our secure NY warehouse. Orders leave in 1 to 2 business days with tracking sent by email, and shipping is free on orders over $100. No overseas wait, no customs. We are a working repair shop, and we stand behind every part we sell.
Posted on

Filament Refill vs Spool: How Anycubic Refills Save You Money

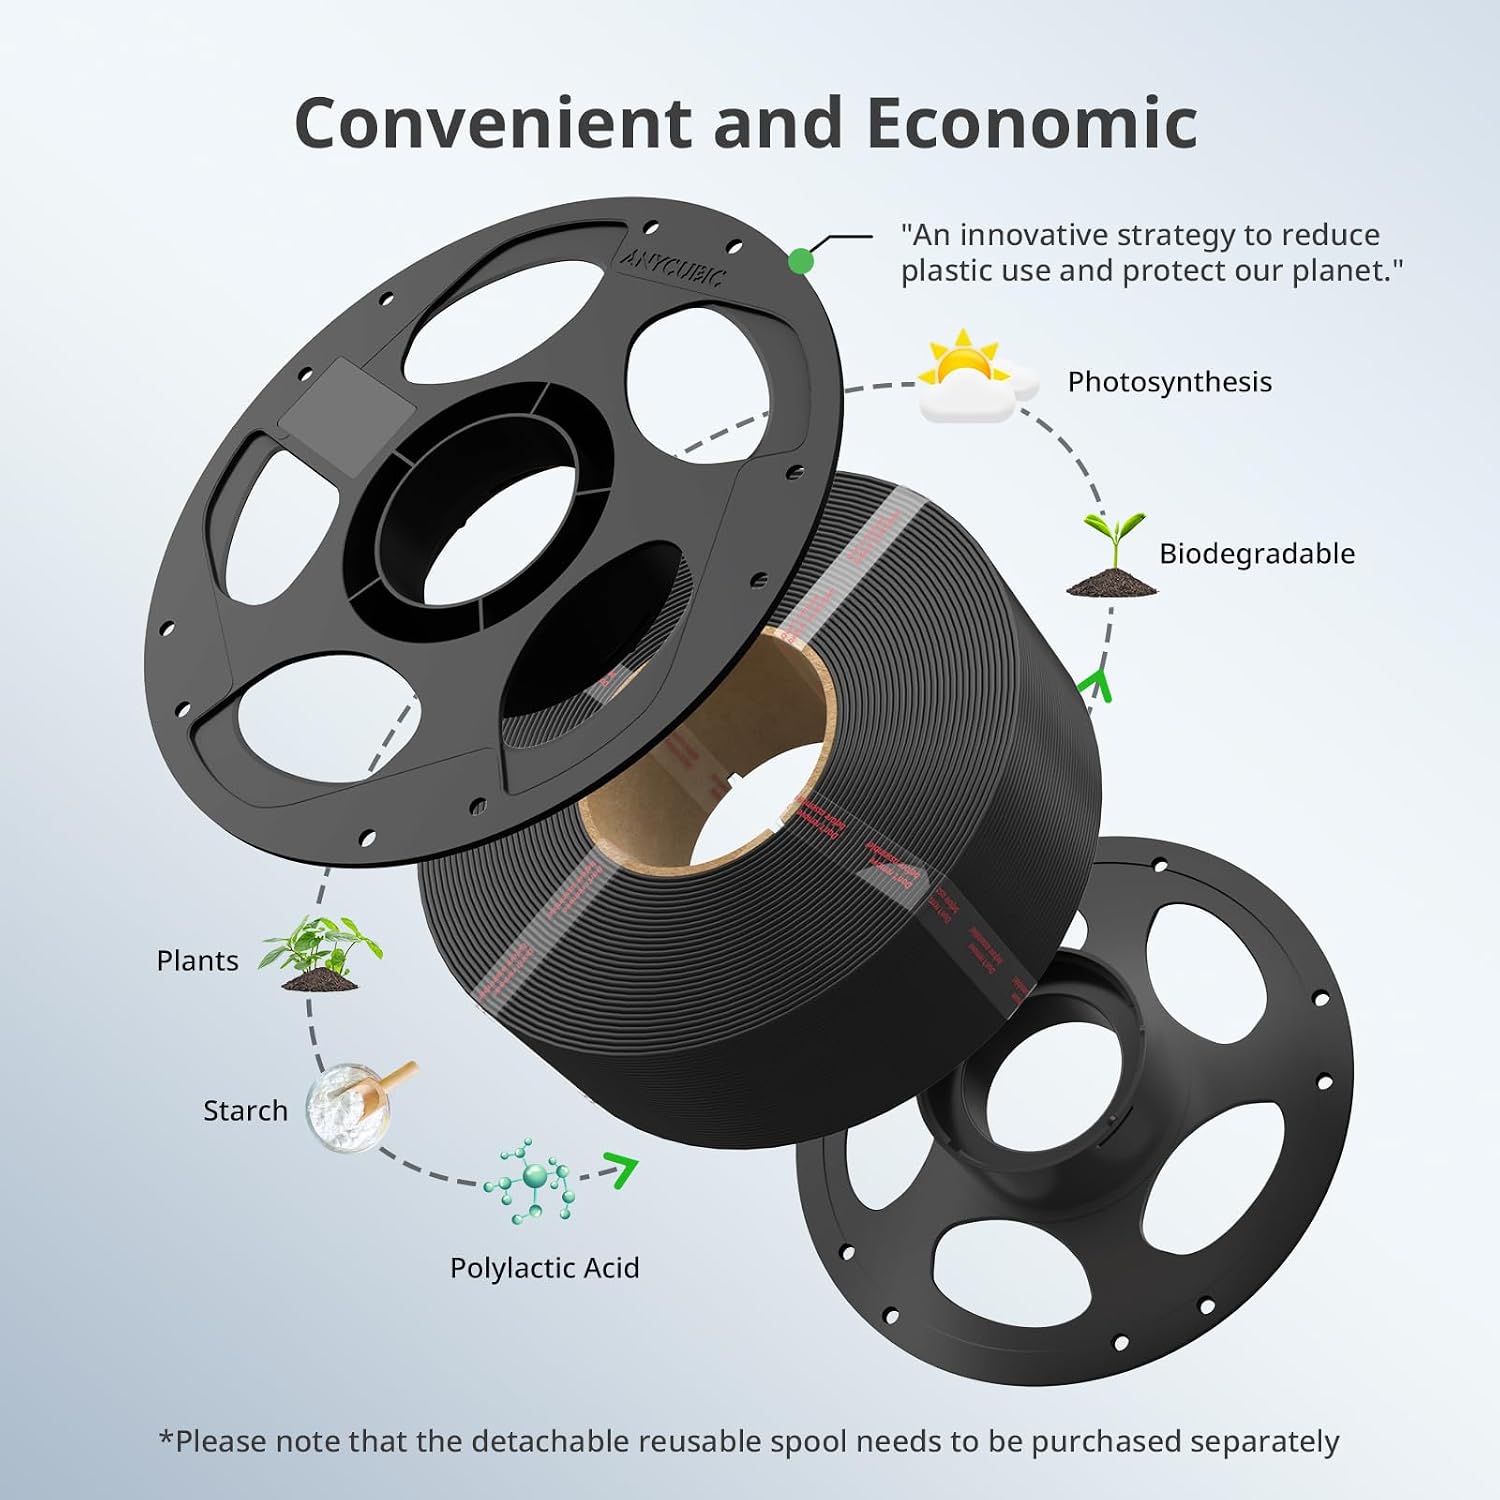
A filament refill is a coil of filament with no spool. It is the same 1KG of filament you would buy on a spool, wound into a coil and held together with tape, at a lower price. The filament refill vs spool question comes down to one thing: do you already own a reusable spool? If you do, a refill costs less, because you are paying for filament, not for another plastic spool. If you do not, a full spool is simpler, because it is ready to print the moment it arrives.

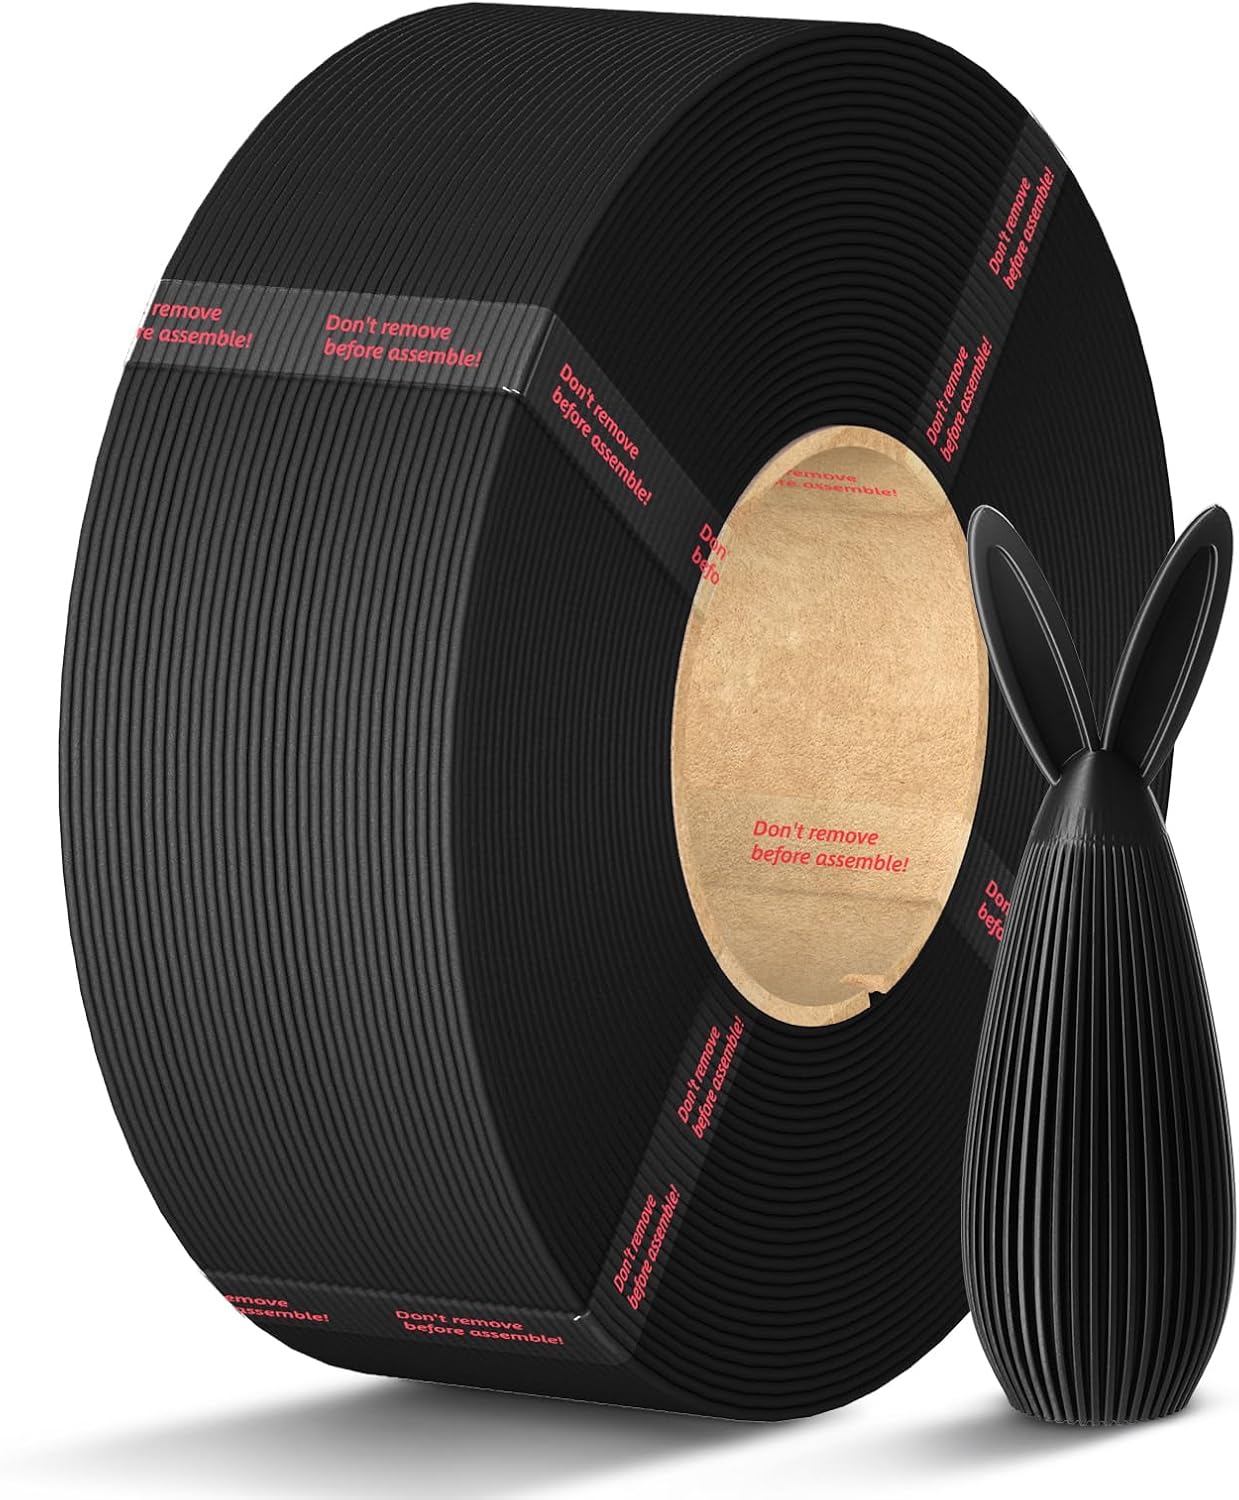
The savings are real and easy to see. The Anycubic PLA filament refill is a 1KG coil in 21 colors, and it is the lowest priced 1KG filament in the shop. The Anycubic PLA+ filament refill is a 1KG coil in 8 colors, and the Anycubic PETG filament refill is a 1KG coil in 5 colors. All three are refills only, with no spool included, and all three cost less than the same filament on a full spool. Buy the refill once you own the spool, and the savings repeat on every spool after that.

Filament Refill vs Spool: What Changes

The filament is the same. What changes is what you do before printing. A full spool mounts on the printer and prints. A refill coil needs a spool first, and that spool has to come from somewhere. Anycubic makes reusable spools for this, and you can also reuse a previous spool or print your own. Once the coil is on a spool, it prints exactly like a normal spool. The refill system is built around the idea that a spool is a tool you keep, not packaging you throw away.

Refills also make sense for the planet and the workshop. Spools pile up fast when you print a lot, and most of them end up in the trash or a box in the corner. A refill skips that waste. One reusable spool can serve dozens of refills, which keeps the bench clear and the cost down. If you print often, that adds up to real money over a year of printing.

How to Use an Anycubic Refill

Using a refill is simple once you have done it once. Get a spool by buying an Anycubic reusable spool, reusing a previous spool, or printing your own spool. Place the refill coil on the spool, remove the tape that holds the coil together, and feed the filament end through the spool. The Anycubic refill has an intelligent identification chip for ACE Pro, so the printer reads the filament details automatically. From there, print as normal. The chip handles identification, and the neatly wound coil feeds smooth without tangling.

Anycubic PLA filament refill, 1.75mm, neatly wound coil

Keep the coil tight while you load it. If the coil loosens and the filament crosses over itself, it can tangle mid print. Hold the coil together until it is seated on the spool, and keep the loose end secured whenever the spool is off the printer. Store refills sealed and dry, the same as any filament, and the coil will print as clean as a full spool.

When a Full Spool Is the Better Buy

A full spool is the better buy when you own no reusable spool yet. The PLA+ filament full spool is ready to print, with 10 colors, and it costs the same as the PLA+ refill, so there is no reason to buy a refill before you own a spool. A full spool is also the better buy as a gift, or for a first printer, since there is nothing extra to buy or assemble. Buy one full spool first, keep the spool when it runs out, and switch to refills from then on.

The smart way to buy filament is to own a few reusable spools and buy refills after that. Start with a full spool or two in the materials you print most, keep those spools, and refill them. The 3D printer filament range has refills in PLA, PLA+, and PETG, plus full spools in PLA+ and HT-PLA Pro, so you can build a refill system around the materials you actually use. One set of reusable spools, refills from then on, and less money spent on plastic you throw away.

Ships from our secure NY warehouse in the USA

Quality RC Parts is a USA shop, and every order ships from our secure NY warehouse. Orders leave in 1 to 2 business days with tracking sent by email, and shipping is free on orders over $100. No overseas wait, no customs. We are a working repair shop, and we stand behind every part we sell.
Posted on

3D Print Drone Parts at Home: A Beginner’s Guide

You can 3D print drone parts at home with a basic printer, one spool of filament, and an afternoon to learn. Mounts, brackets, camera mounts, landing gear parts, and guards are all printable, and printing them yourself beats waiting on shipping every time a small part breaks. This guide walks through what you need, which filament to start with, which parts to print first, and how to fix the problems that trip up every beginner. No experience needed, and no expensive printer required.

The setup is simple. You need an FDM 3D printer that takes 1.75mm filament, a spool of filament, and a clean build plate. A basic printer handles drone parts fine, since most of them are small and do not need a large build volume. Start with a filament that is forgiving, learn the printer, and move to tougher materials once the first prints come out clean. The parts will get better fast, and so will your settings.

Pick Your First Filament to 3D Print Drone Parts

Start with PLA+. It prints almost the same as PLA, so a beginner gets good results fast, and it is tougher than standard PLA, so the parts actually hold up. PLA+ is less brittle, with better impact resistance and stronger layer adhesion, which is what a drone part needs. Print it at a nozzle temperature of 200 to 230C and a bed temperature of 55 to 65C, at speeds up to 300mm/s. A full 1KG spool of PLA+ filament is ready to print and comes in 10 colors.

Plain PLA is fine for practice prints and decorative parts, and it is the cheapest way to learn. The Anycubic PLA filament refill is a 1KG refill coil in 21 colors, and it is a refill only, with no spool included, so you need a reusable spool to use it. Once your prints look good in PLA, switch to PLA+ for the parts that fly. PETG comes later, when you want parts that flex instead of breaking.

Anycubic PLA filament refill spool in black, 1.75mm

Your First Drone Part Prints

Start small and useful. A camera mount, an antenna mount, or a simple bracket is a good first print, because it is small, prints fast, and you can test the fit right away. Print one, check the fit, adjust the settings, and print it again. That loop is how you learn a printer. Do not start with a big frame or a complex housing. Small parts teach you bed adhesion, layer adhesion, and fit, and they use little filament when a print fails.

Print orientation matters as much as the filament. Layer lines are the weak direction, so orient the part so the load pulls across the layers, not along them. A bracket that snaps at a layer line was usually printed in the wrong orientation. Think about which way the part will be pulled and pushed in flight, and lay it flat so the layers stack in the strong direction. A few minutes of thought before printing saves a reprint later.

Test every part before you fly it. Bolt a mount on, check the fit, and tug it the way flight will tug it. A part that fits on the bench and holds on the ground is ready to fly. A part that is loose or cracked on the bench will fail in the air, so fix it now, not after a crash. That test takes a minute, and it is the difference between a part you trust and a part you hope holds.

Fixing the Usual First Print Problems

Warping is the most common first problem. The corners of a flat part lift off the bed, and the print fails or finishes curled. Fix it with a clean bed, a slow first layer, and a thin layer of bed adhesion glue. The Creality 3D printer glue stick is a 21g stick that works with PLA, ABS, PETG, PC, PA, and TPU, and it washes off with water. A glue stick is cheap insurance on every large flat print.

Stringing is the other common problem. Thin strings between parts mean the retraction needs tuning, so increase it a little at a time until the strings stop. Rough surfaces and weak layers usually mean damp filament, so store the spool sealed with desiccant and dry it before a big print. Most beginner problems have simple fixes, and each one teaches you something about the printer. Keep the first prints small, fix one problem at a time, and your drone parts will be flying within a weekend.

Ships from our secure NY warehouse in the USA

Quality RC Parts is a USA shop, and every order ships from our secure NY warehouse. Orders leave in 1 to 2 business days with tracking sent by email, and shipping is free on orders over $100. No overseas wait, no customs. We are a working repair shop, and we stand behind every part we sell.
Posted on

HT-PLA Pro: A Heat Resistant Filament for Enclosures and Hot Builds

Heat kills PLA parts. An electronics enclosure near a motor, a bracket in a hot car, or a housing that sits in the sun will soften, warp, and fail when the temperature climbs. That is the job for a heat resistant filament. Polymaker HT-PLA Pro combines the toughness and print speed of PLA Pro with the heat stability of HT-PLA, so parts hold their shape where standard PLA gives up. It prints like PLA, with no enclosed chamber and no hardened nozzle, and it anneals to its best heat resistance in half an hour.

HT-PLA Pro is built for functional parts that live at elevated temperatures. Think electronics enclosures, automotive interior accessories, brackets, and housings that sit near heat sources. The material has stronger layer adhesion and flexural performance than regular HT-PLA, with improved impact resistance, rigidity, and dimensional stability. That means a part that is both heat resistant and tough, not one or the other. It is the filament to reach for when a part has to survive heat and still take a knock.

What Heat Resistant Filament Does Differently

The difference is annealing. Print the part, then heat it at 100C for 30 minutes, and HT-PLA Pro reaches its best heat resistance. That one step is what separates it from PLA, PLA+, and PETG, which all soften at lower temperatures. Annealing is simple and needs nothing more than an oven that holds a steady temperature. Let the part cool slowly after annealing, and it keeps its shape and gains heat resistance that no standard PLA can match.

Printing is straightforward. Recommended settings are a nozzle temperature of 220 to 230C and a build plate temperature of 60 to 65C. High speed printing works up to 300mm/s, with a volumetric flow of 24 cubic millimeters per second. There is no need for an enclosed chamber or a hardened nozzle, and warping and odor stay low. That makes HT-PLA Pro easy to print on a normal open printer, which is not true of most heat resistant filaments.

Polymaker HT-PLA Pro filament spool in grey, 1.75mm

Where to Use Heat Resistant Filament

Use HT-PLA Pro wherever heat is the failure mode. Electronics enclosures that sit near motors, speed controllers, and batteries are the classic case. Automotive interior accessories live in hot cars all summer, and HT-PLA Pro holds its shape there. Brackets and housings near hot components, and drone parts that sit close to motors, are good uses too. If a part failed because it softened in the heat, reprint it in HT-PLA Pro and anneal it.

Not every part needs heat resistance. Decorative parts, prototypes, and parts that never see heat are fine in PLA or PLA+, which cost less and print just as easily. Use HT-PLA Pro where heat is the problem, PLA+ where toughness is the problem, and PETG where flex is the problem. Picking the filament by the failure mode is the fastest way to a part that lasts.

Printing HT-PLA Pro Without Warping

A few habits make HT-PLA Pro print clean. Dry the filament at 60C for 6 hours if it has absorbed moisture, since damp filament prints rough and weak. Print the first layer slow on a clean bed, and use a thin layer of bed adhesion glue on large flat parts. The 1KG spool comes in 11 colors, so matching a build is easy, and the reinforced cardboard spool works with most AMS and dry box systems. The Polymaker HT-PLA Pro filament is a full spool, ready to print, and it is the heat resistant filament we stock for functional parts.

The spool itself is practical. A full 1KG spool of HT-PLA Pro comes in 11 colors, so you can match a build or color code parts by function. The reinforced cardboard spool works with most AMS and dry box systems, which keeps the filament dry while it prints. A kilogram goes a long way on enclosures and brackets, and the spool is ready to print the moment it arrives.

If you have a part that keeps softening in the heat, stop reprinting it in PLA and hoping for a different result. Print it once in HT-PLA Pro, anneal it at 100C for 30 minutes, and put it back in service. That is the whole workflow, and it is the reason this filament exists. Browse the full 3D printer filament range to compare it with PLA+, PETG, and PLA, and pick the right material for each part you print.

Ships from our secure NY warehouse in the USA

Quality RC Parts is a USA shop, and every order ships from our secure NY warehouse. Orders leave in 1 to 2 business days with tracking sent by email, and shipping is free on orders over $100. No overseas wait, no customs. We are a working repair shop, and we stand behind every part we sell.
Posted on

PETG RC Car Parts: Why They Flex Instead of Breaking

RC cars crash. They hit curbs, flip on jumps, and slide into walls, and the parts that break first are the ones that cannot flex. PETG RC car parts solve that problem, because PETG bends instead of snapping. A bumper printed in PLA cracks on the first hard hit. The same bumper printed in PETG flexes, absorbs the impact, and goes back for another run. That is the whole case for PETG in one sentence, and it is why so many RC builders keep a spool of it on the shelf next to their PLA.

PETG combines the ease of printing of PLA with the toughness of ABS. It prints at moderate temperatures, sticks well, and does not need an enclosed printer. The finished part is tougher than PLA and far less brittle, with better resistance to chemicals and water. For an RC car that runs outside in dirt, mud, and wet grass, that matters. A part that survives a crash and a wash is worth more than a part that prints pretty and breaks clean.

Why PETG RC Car Parts Flex Instead of Breaking

The key number is impact resistance. PETG has impact resistance twice that of standard PLA, which means it takes twice the hit before it fails. When a bumper or skid plate takes a direct impact, PETG deforms a little and springs back instead of cracking through. That flex is what keeps a car running after a crash that would end the day for a PLA part. PETG also holds up better in the sun and the rain, and it resists the cleaners and oils that get used around RC cars.

Chemical and water resistance are the quiet benefits. PETG does not soften or weaken when it gets wet, and it stands up to common cleaning agents that can damage PLA. An RC car part lives in a rough place, and PETG is built for it. Dimensional accuracy is plus or minus 0.02mm, so parts fit the first time, and tidy winding keeps feeding smooth without clogs or bubbles. Vacuum packing keeps moisture out until you open the spool.

Anycubic PETG filament refill spool in black, 1.75mm

PETG vs PLA+ for RC Car Parts

PLA+ and PETG both beat PLA, but they win in different ways. PLA+ is the pick for rigid parts that must hold their shape, like motor mounts, servo mounts, and brackets. It is tougher than PLA and prints easily. PETG is the pick for parts that must flex and absorb impacts, like bumpers, skid plates, body mounts, and battery trays. If a part broke because it was too brittle, print it in PETG. If a part broke because it was too weak, print it in PLA+. Many builders keep both, and pick the filament by the job the part has to do.

Printing PETG takes a little more care than PLA. It strings more, so tune retraction until the strings go away. Print the first layer slow and make sure the bed is clean. Dry filament matters with PETG, since damp PETG prints rough and weak. Store the spool sealed with desiccant when you are not printing, and dry it before a big print if it has been sitting out. The extra care pays off in parts that last.

Printing Anycubic PETG Refills

The Anycubic PETG filament refill is a 1KG refill coil in 5 colors, and it is a refill only, with no spool included. You need an Anycubic reusable spool, a previous spool, or a printed spool to use it. The refill costs less because you are not paying for a new spool every time. That is a good deal if you already own reusable spools, and it is the cheapest way to keep PETG on hand for the next repair. The same refill system works for Anycubic PLA and Anycubic PLA+, so one set of reusable spools covers all three filaments.

Start with the parts that break most. Bumpers, skid plates, and body mounts are the first PETG prints for most RC cars, and they are the parts that show the difference fastest. Print one bumper in PETG, run the car hard, and see how it holds up. Then work through the rest of the car, replacing PLA parts with PETG wherever flex and impact resistance matter. Keep PLA+ for the rigid mounts, PETG for the parts that take hits, and your car will spend more time running and less time on the bench.

Ships from our secure NY warehouse in the USA

Quality RC Parts is a USA shop, and every order ships from our secure NY warehouse. Orders leave in 1 to 2 business days with tracking sent by email, and shipping is free on orders over $100. No overseas wait, no customs. We are a working repair shop, and we stand behind every part we sell.
Posted on

PLA+ for Drone Parts: Why It Is the Smart Pick

Drone parts take hits. A mount that holds a camera, a bracket that holds an arm, and a guard that takes the first impact in a crash all need to survive landings that are not always gentle. PLA+ for drone parts is the filament most builders reach for, because it is tougher than standard PLA and prints almost the same way. Standard PLA is easy to print but brittle. It snaps instead of bending, and a hard landing can crack a part that looked perfect on the bench. PLA+ fixes that weakness without adding the hassle of harder filaments. This guide covers what PLA+ is, why it works for drone parts, which parts to print in it, and the settings that give clean results.

PLA+ is PLA with added toughness. It is the same base plastic, modified so the finished part is less brittle and holds up better under impact. Layer adhesion is stronger, so parts are less likely to split along layer lines when they flex or take a knock. It still prints at normal PLA temperatures, sticks well to the bed, and gives a clean surface. For a hobbyist who already prints PLA, switching to PLA+ means changing the spool, not learning a new process. That is the main reason it has become the default filament for functional drone parts.

Why PLA+ for Drone Parts Beats Standard PLA

The difference shows up the first time a drone comes down hard. A PLA camera mount can crack at the screw holes. A PLA+ mount of the same design flexes a little, absorbs the hit, and keeps flying. PLA+ is less brittle in cool weather too, which matters for outdoor flying in spring and fall. Stronger layer adhesion also means tall, thin parts like antenna mounts and standoffs are less likely to snap at a layer line. The print settings stay close to PLA, so there is no long tuning process before the first good part.

The numbers back it up. PLA+ prints with a nozzle temperature of 200 to 230C and a bed temperature of 55 to 65C, at speeds up to 300mm/s. Diameter tolerance is plus or minus 0.03mm, which keeps extrusion even and layers consistent. A 1KG spool prints a lot of mounts and brackets before it runs out, and the filament is neatly wound so it feeds smooth without tangling. Those are the specs that matter when a part has to fit the first time and hold up in the air.

Which Drone Parts to Print in PLA+

Start with the parts that take load and knocks. Camera mounts, GoPro mounts, antenna mounts, arm brackets, landing gear parts, and housings are all good PLA+ prints. Guards and bumpers work well too, since PLA+ absorbs impacts instead of shattering. Small brackets that hold electronics in place are another good use, because the stronger layer adhesion keeps screw holes from splitting when you tighten them. If a part broke in PLA, reprint it in PLA+ before you change the design.

Anycubic PLA+ filament refill spool in black, 1.75mm

Some parts belong in other filaments. Parts that sit near motors or speed controllers and get hot belong in a heat resistant filament like Polymaker HT-PLA Pro, which handles heat far better than PLA+. Parts that must flex a lot, like soft guards and chassis pieces, belong in PETG, which bends instead of breaking. For everything else on a drone, PLA+ is the right call. It covers mounts, brackets, housings, and guards with one spool and one set of print settings.

PLA+ Print Settings That Work

Print PLA+ the same way you print PLA, with a few small changes. Use a nozzle temperature of 200 to 230C and a bed temperature of 55 to 65C. Print the first layer slow so it sticks well, then run normal speeds up to 300mm/s. Keep the filament dry, since damp filament prints rough and weak. Store the spool sealed with desiccant between prints, and dry it before a big print if it has been sitting out. A clean bed matters as much as the settings, and a thin layer of bed adhesion glue helps on large flat parts.

Picking a spool is simple. A full 1KG spool of PLA+ filament is ready to print, with 10 colors to choose from. If you already own reusable spools, the Anycubic PLA+ filament refill is the same tough PLA+ as a refill coil, in 8 colors. Both are the same material, so the choice comes down to whether you need a spool or already have one. Either way, print your next drone part in PLA+ and see the difference the first time it hits the ground.

Ships from our secure NY warehouse in the USA

Quality RC Parts is a USA shop, and every order ships from our secure NY warehouse. Orders leave in 1 to 2 business days with tracking sent by email, and shipping is free on orders over $100. No overseas wait, no customs. We are a working repair shop, and we stand behind every part we sell.
Posted on

Stop Warping: 3D Printer Bed Adhesion Glue Sticks That Actually Work

A print that lifts off the bed mid-print is wasted filament and wasted time. Warping starts at the first layer, and a bed adhesion glue stick is the cheapest reliable fix. Here is what causes warping, how a glue stick fixes it, and how to apply it so the first layer sticks and the finished part still comes off clean.

Why prints warp and lift

Warping happens when the bottom layers cool and shrink faster than the layers above them. The corners pull up, the part loses contact with the bed, and the print fails or finishes with a curled base. It hits ABS and PETG hardest, but PLA lifts too on large flat parts, cold rooms, and dirty or worn build plates. A clean plate, a level bed, and the right bed temperature help. A glue stick closes the gap.

What a bed adhesion glue stick does

A glue stick lays down a thin, even layer of water-soluble adhesive on the build plate. While the plate is hot, it grips the first layer and holds the print flat. Once the plate cools, the bond releases and the part lifts off without prying. Leftover residue washes off with water. One stick works across PLA, ABS, PETG, PC, PA, and TPU, and one application lasts several prints.

Bed adhesion glue stick, 21g
Bed adhesion glue stick, 21g. First layer build plate adhesive for PLA, ABS, PETG, PC, PA, and TPU.

How to apply it

Clean and dry the build plate first. Apply a thin, even layer of glue stick on a cold plate, covering the area the print will touch. Start the print. Do not pile it on: a thick layer makes the bottom rough and harder to remove. When the print finishes, let the plate cool fully, then lift the part off. Wash the plate with water to remove residue before the next print.

Creality 3D printer glue stick, 21g
Creality 3D printer glue stick, 21g. PVP solid glue for PLA, ABS, PETG, PC, PA, and TPU.

What to look for in a glue stick

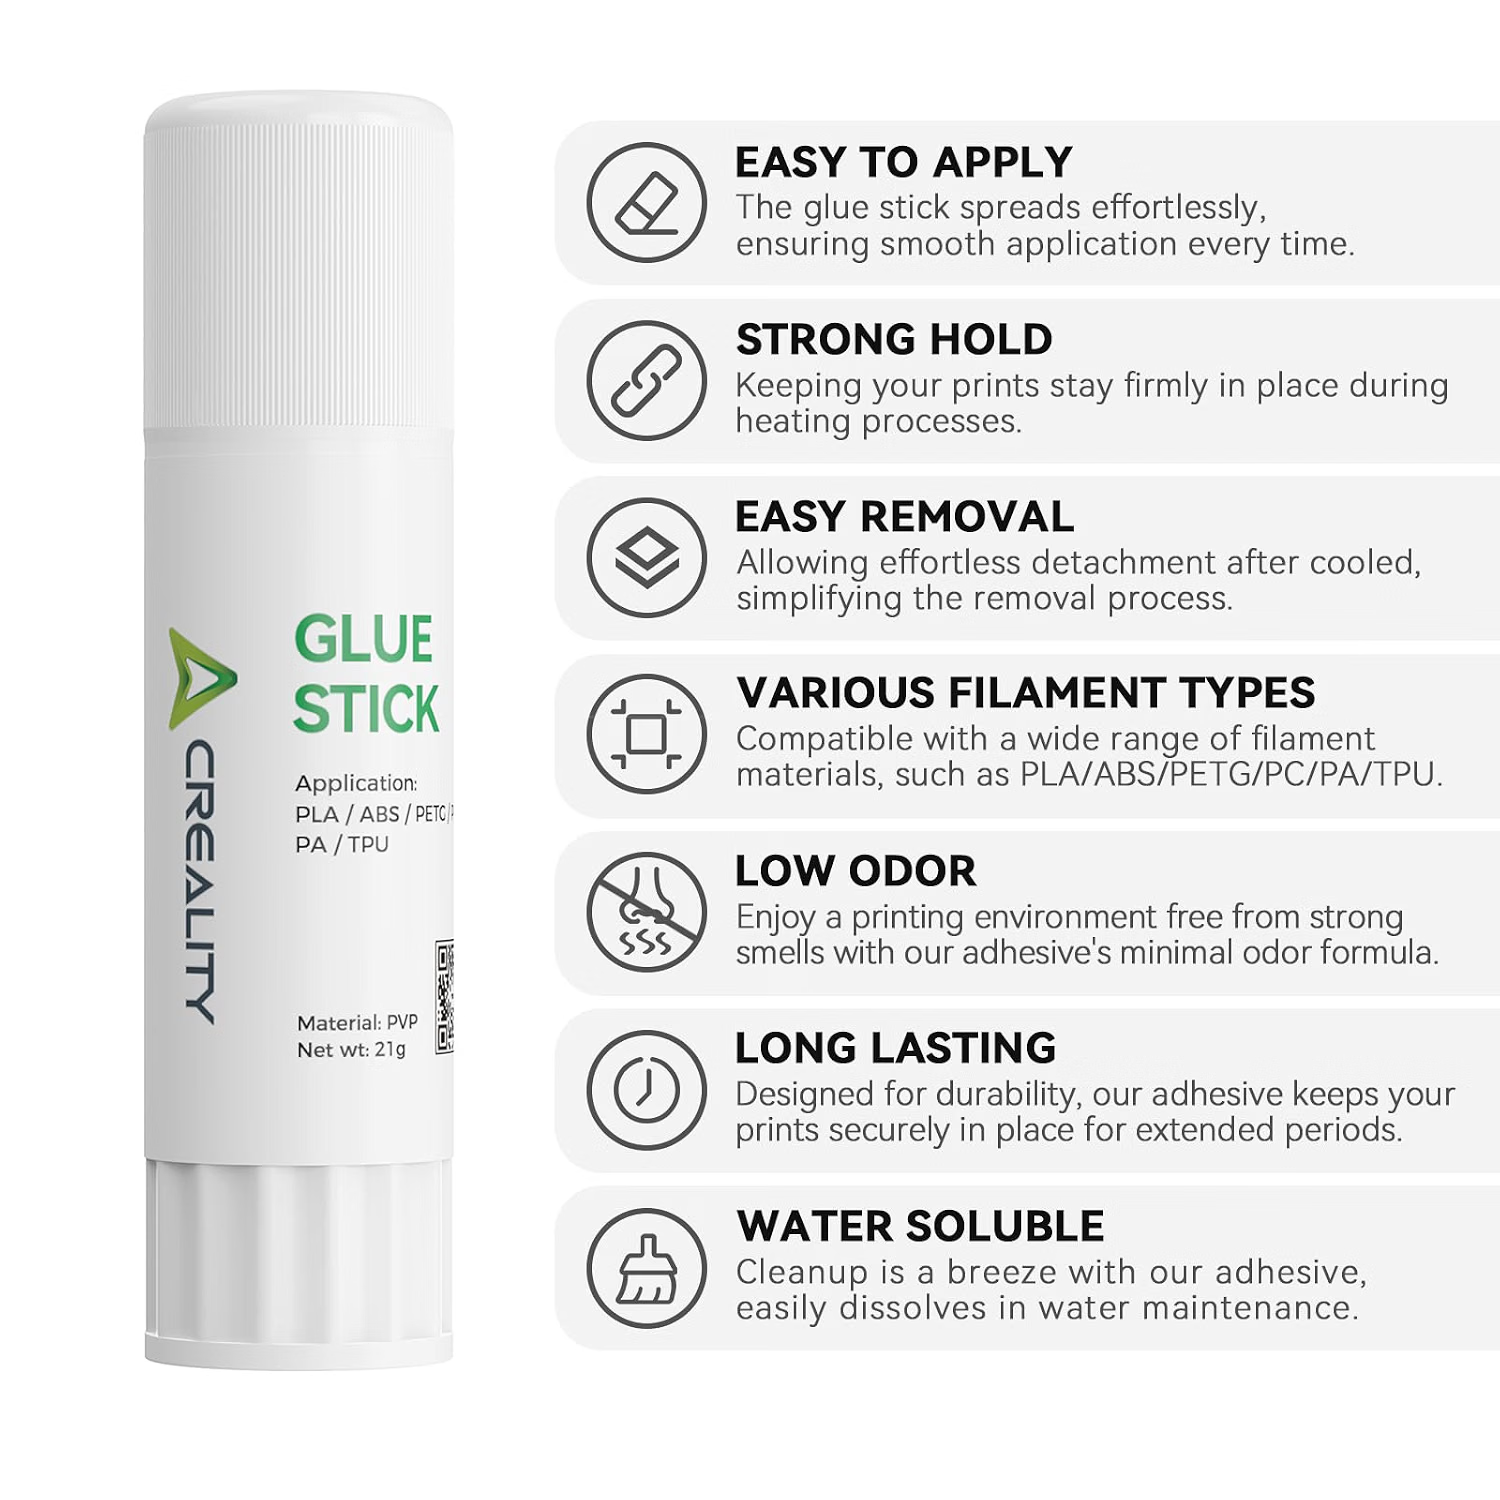
Look for a solid PVP glue stick made for 3D printers, not a school glue stick. It should go on smooth, hold strong while hot, release when cool, wash off with water, and stay low odor. Creality makes a 21g stick that covers all six common filaments and is easy to apply and remove. A 21g stick lasts a long time because each application is a thin layer.

Creality glue stick features: easy to apply, strong hold, easy removal
Creality glue stick features: easy to apply, strong hold, easy removal, works with PLA, ABS, PETG, PC, PA, and TPU.

Tips that stop warping for good

Keep the plate clean: skin oil kills adhesion, so wipe it before every print. Keep the room draft-free. Use a brim on large flat parts. Reapply the glue stick every few prints, not every print. Store the stick capped so it does not dry out. And print your first layer slow: a slow, well-squished first layer plus a glue stick beats a fast first layer on a bare plate every time.

Creality glue stick in use, smooth first layer on a 3D print
Creality glue stick in use: smooth application, strong first layer adhesion.

Our pick: the Creality 3D printer glue stick, 21g, pack of 1. It covers all six common filaments, goes on smooth, holds strong while hot, and washes off with water.

Pair a glue stick with the right filament for the job. The 3D Printer Filament category has PLA, PLA+, PETG, and HT-PLA Pro, all shipped from NY, USA.